

Did You Know? Setting Up a Fillet-Type Weld with a Notch
With Creo Parametric you can define several weld types, including fillet, groove, butt, plug/slot, and spot welds. Additionally, you can define welding-related features like notches. When defining a notch feature, you can create a cut that enables welds to cross model components without interruption.
In this post, a PTC expert describes how to set up a fillet-type weld with a notch.
To access welding functionality, first, you need have an existing assembly open. Then, on the Applications tab, click Welding.
Configure the Model Tree to show features and suppressed objects. To do this, click the Settings button (which appears as tools) and then click Tree Filters. The Model Tree Items dialog box opens, as shown below.
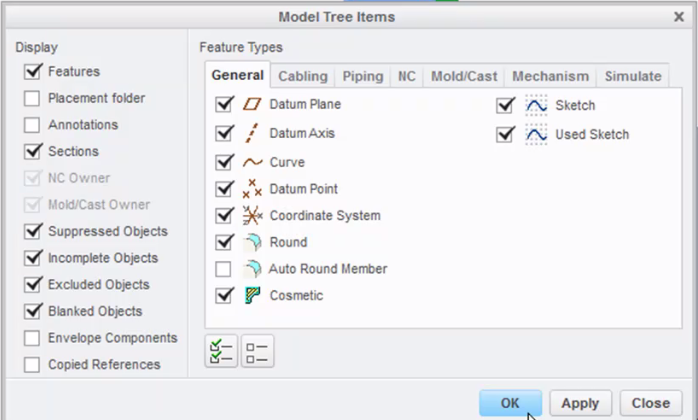
On the left side of the Model Tree Items dialog box, select the Features and Suppressed Objects check boxes, and then click OK. Features are now listed in the Model Tree. Right-click the welding rod name and click Edit Definition. The Weld Materials dialog box opens. This dialog box shows the defined rod parameters.
Click Weld Wizard. The Weld Definition dialog opens. In the Feature frame, ensure the Notch check box is selected. In the Weld Feature frame, click the Fillet button. In the Notch Feature frame, click the Round corner notch button. Click OK. The Fillet Weld ribbon bar tab opens.

On your assembly, select the first reference for the fillet weld. Select the Location tab in the fillet weld dashboard.
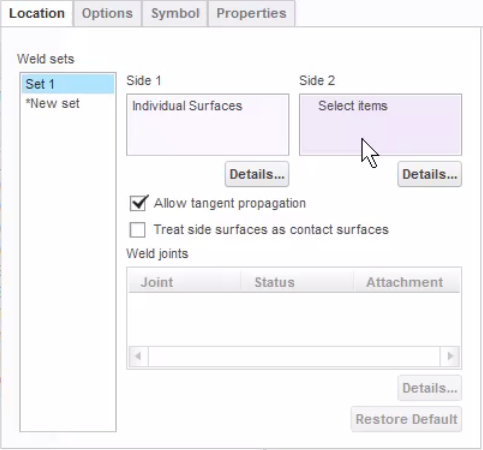
Click in the Side 2 collector to activate it. Press the Ctrl key, and then select the outer surfaces of the model . From the Welding ribbon bar menu, click the Apply button (green check mark). The fillet weld feature is created.
Since the Notch check box was selected before the weld was defined, the Intersected Components dialog box opens automatically. On the dialog box, click the AutoAdd button. Gussets are automatically added to a list on the dialog. Click OK.
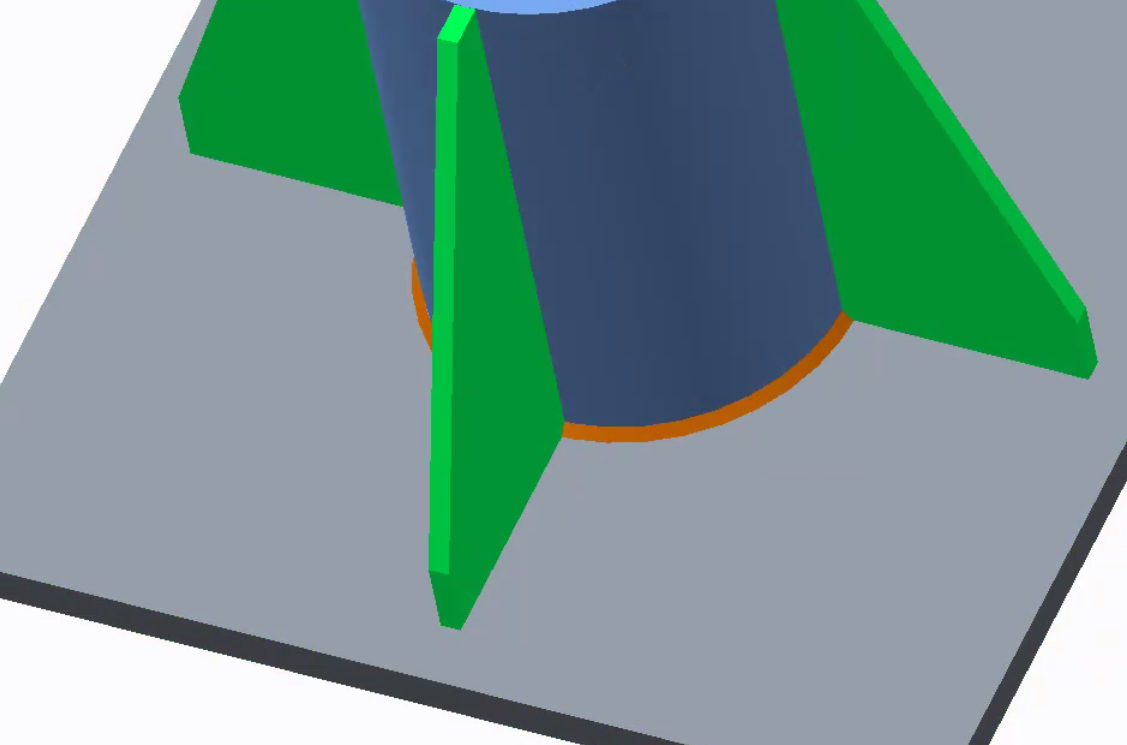
All other elements were already defined in the Assembly Weld Notch dialog box , so, click OK on that dialog box. The Weld Definition dialog box re-opens, prompting you to create another weld feature. Click Cancel if you don’t want to create another feature. Examine the notch that was created for the fillet weld.
As in the example above, if you find that the notch is not the correct profile for the weld, edit the definition of the assembly weld notch. To do this, from the Model Tree, click the weld notch definition and select Edit Definition from the pop-up menu. The Assembly Weld Notch dialog box opens. In the dialog box, select the Trajectory element, and click Define. The Menu Manager dialog box opens.
In the Menu Manager dialog box, select the Select Trajectory option. Change the view to Hidden Line. On your model, select the edges of the surfaces that touch the weld (in our example, I’d select the bottom edge of the tube on both sides of the gusset) and then click Done on the Menu Manager dialog box.
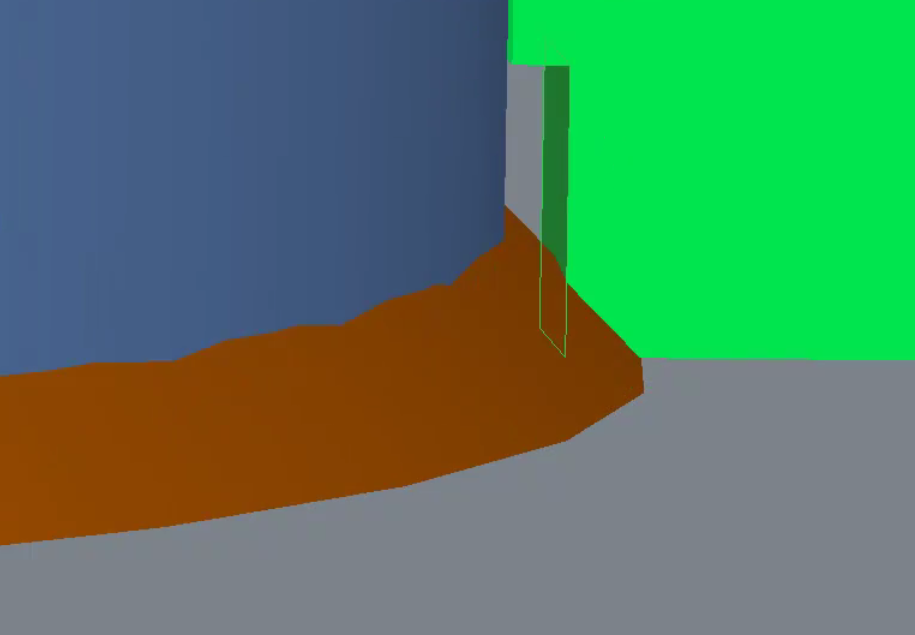
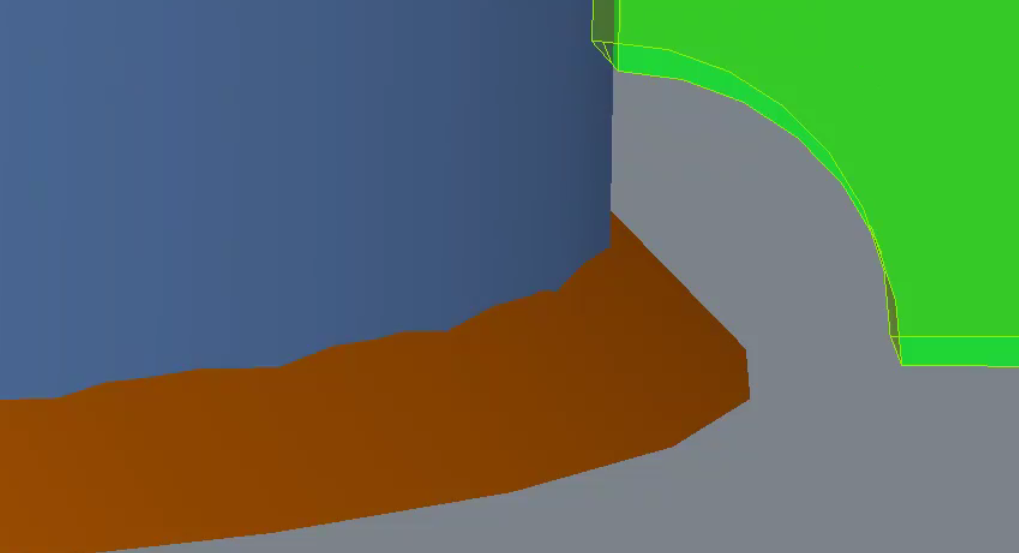
Change the view to Shading. Click OK on the Assembly Weld Notch dialog box. The notch profile is now correct, as shown below.
To watch a demonstration of these steps, check out our video tutorial (“Introduction to Welding in PTC Creo Parametric”).
Stay tuned to our “Did You Know” blog series as we cover all of the exciting, new enhancements in PTC Creo 3.0.
Have some ideas about what PTC Creo product features you’d like to learn more about? Send me a message or leave a comment below and we’ll write up the best ideas from the community. Thanks for reading, looking forward to hearing from you!
This thread is inactive and closed by the PTC Community Management Team. If you would like to provide a reply and re-open this thread, please notify the moderator and reference the thread. You may also use "Start a topic" button to ask a new question. Please be sure to include what version of the PTC product you are using so another community member knowledgeable about your version may be able to assist.