Community Tip - You can subscribe to a forum, label or individual post and receive email notifications when someone posts a new topic or reply. Learn more! X
- Community
- Creo+ and Creo Parametric
- 3D Part & Assembly Design
- How to create sheet metal bend through flat area?
- Subscribe to RSS Feed
- Mark Topic as New
- Mark Topic as Read
- Float this Topic for Current User
- Bookmark
- Subscribe
- Mute
- Printer Friendly Page
How to create sheet metal bend through flat area?
- Mark as New
- Bookmark
- Subscribe
- Mute
- Subscribe to RSS Feed
- Permalink
- Notify Moderator
How to create sheet metal bend through flat area?
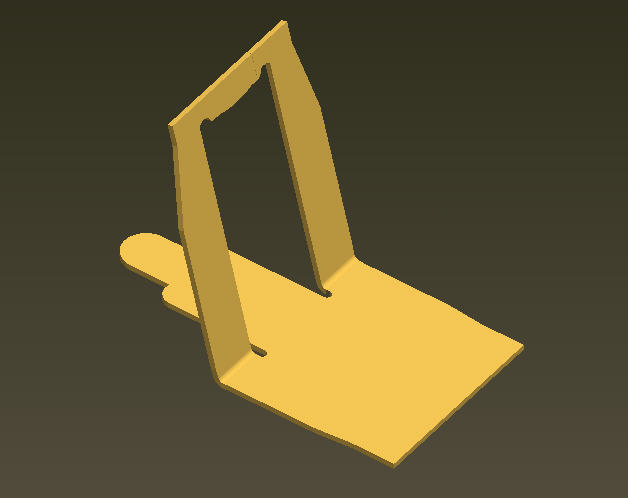
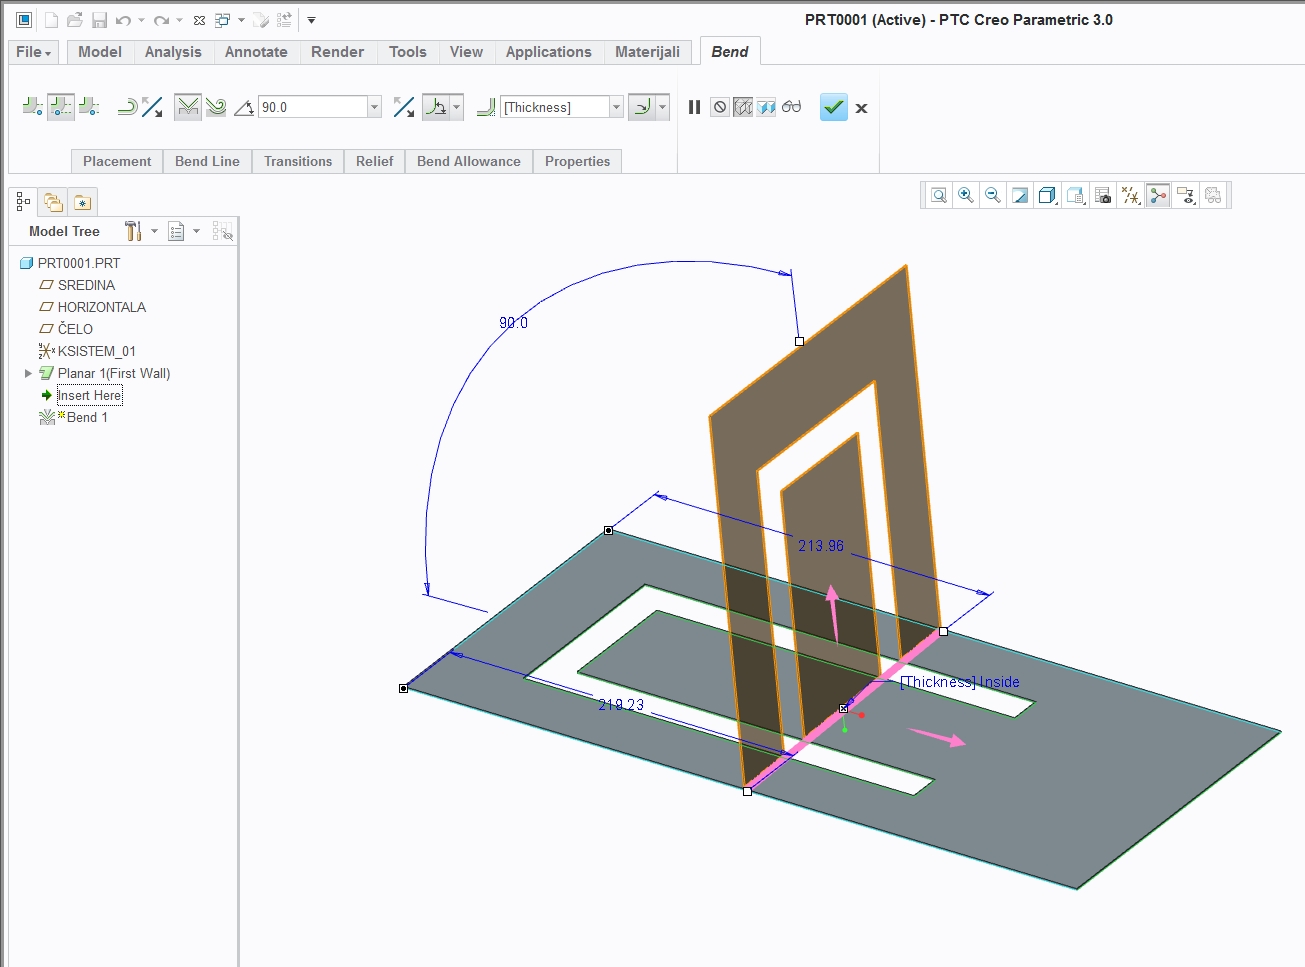
What is the method to create sheet metal bend that has a flat area as shown, since bend line in sketch must be one entity?
This is a simplified version, so I can't use forms or punches.

This thread is inactive and closed by the PTC Community Management Team. If you would like to provide a reply and re-open this thread, please notify the moderator and reference the thread. You may also use "Start a topic" button to ask a new question. Please be sure to include what version of the PTC product you are using so another community member knowledgeable about your version may be able to assist.
Solved! Go to Solution.
- Labels:
-
Sheet Metal Design
Accepted Solutions
- Mark as New
- Bookmark
- Subscribe
- Mute
- Subscribe to RSS Feed
- Permalink
- Notify Moderator
Hi Curt,
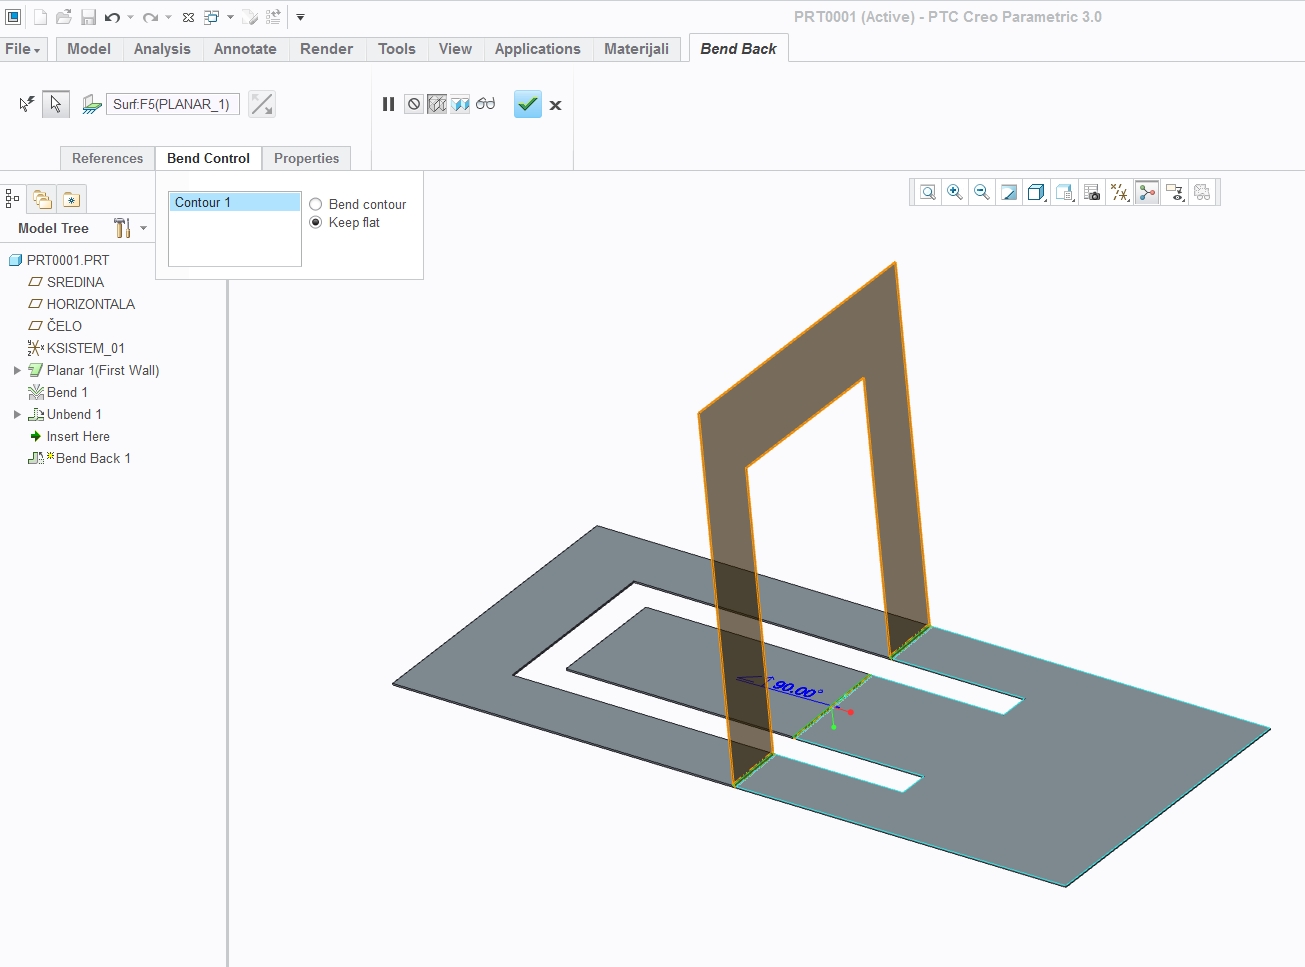
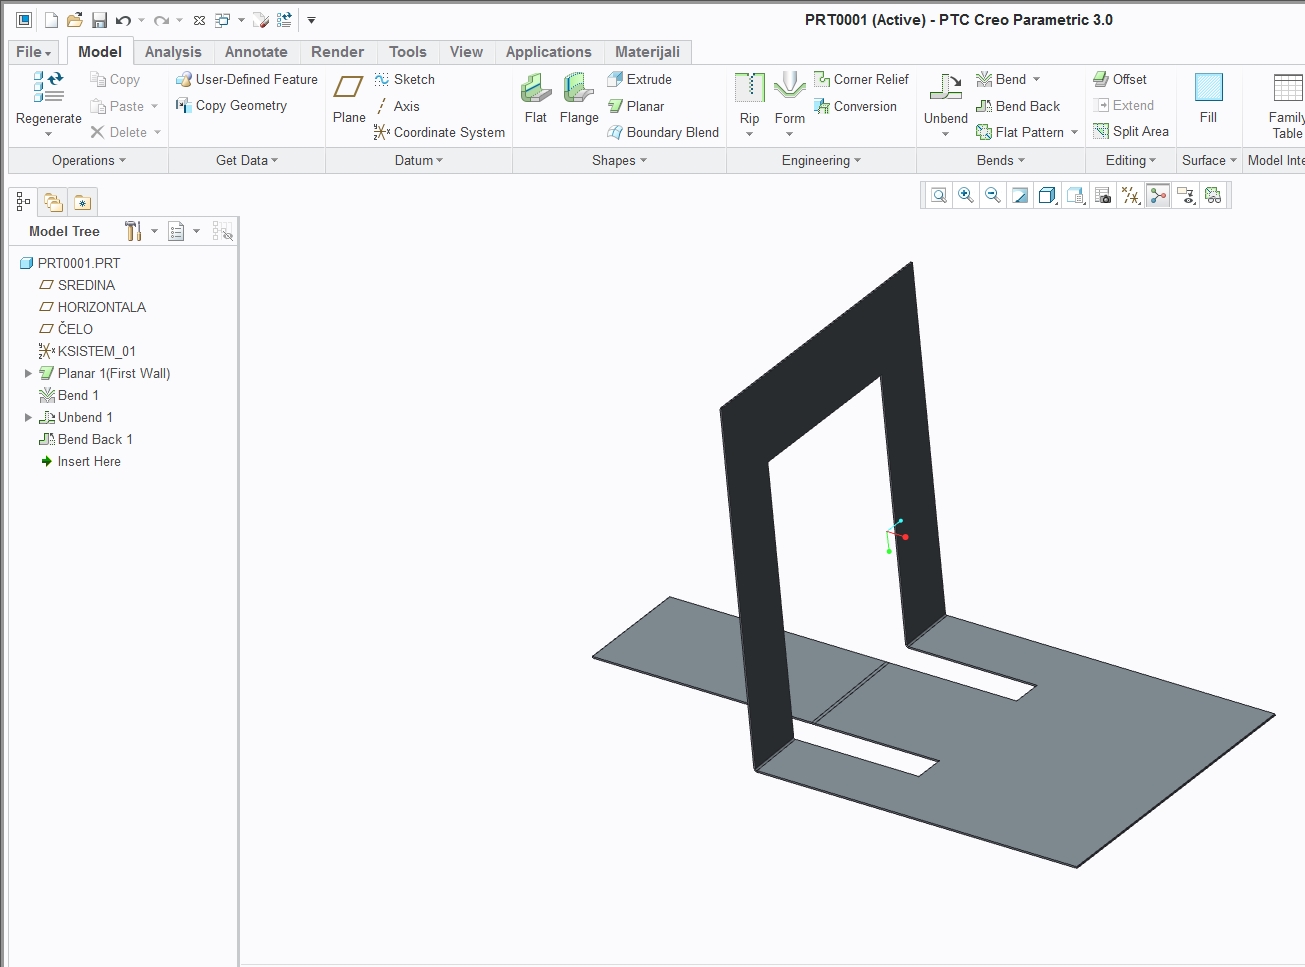
You can bend all with middle segment in sheetmetall,unbend and then bend back using "Bend control" tab selecting "keep flat".
Cheers


- Mark as New
- Bookmark
- Subscribe
- Mute
- Subscribe to RSS Feed
- Permalink
- Notify Moderator
Correct me if I'm wrong, but can't you model it as you have it here, then use the "convert to sheetmetal" functionality? Or make the bent piece without the straight bit, then add it as a feature? I don't use sheetmetal too much, but I think it should be possible with those or other ways, as long as the opening in the "vertical" leg of the "L" is large enough to contain the "finger" bit on the horizontal leg when you make the flat pattern.
- Mark as New
- Bookmark
- Subscribe
- Mute
- Subscribe to RSS Feed
- Permalink
- Notify Moderator
Hi Curt,
You can bend all with middle segment in sheetmetall,unbend and then bend back using "Bend control" tab selecting "keep flat".
Cheers


- Mark as New
- Bookmark
- Subscribe
- Mute
- Subscribe to RSS Feed
- Permalink
- Notify Moderator
I thought they added something for this in Creo 3.0. PTC was quite proud of it.
If I had to, I would add the tongue after the bend feature..
- Mark as New
- Bookmark
- Subscribe
- Mute
- Subscribe to RSS Feed
- Permalink
- Notify Moderator
Yea adding tongue after is better you dont have bend mark on tonge that way.
Also this is not exclusive to Creo 3.0. You have this in older versions.
- Mark as New
- Bookmark
- Subscribe
- Mute
- Subscribe to RSS Feed
- Permalink
- Notify Moderator
It was the multiple bend thing I was thinking about. It appears to be non-relevant. Again, a perfect same but I'd say Curt has a valid enhancement request.
Tutorial: Bending Coplanar Surfaces in a Single Feature
(remember to log in with your community credentials)
- Mark as New
- Bookmark
- Subscribe
- Mute
- Subscribe to RSS Feed
- Permalink
- Notify Moderator
If you split the area you can bend the geometry without bending the tongue.
- Mark as New
- Bookmark
- Subscribe
- Mute
- Subscribe to RSS Feed
- Permalink
- Notify Moderator
That was my work-around but it is neither clean nor ideal and need to create a wall extend later to refill it.
- Mark as New
- Bookmark
- Subscribe
- Mute
- Subscribe to RSS Feed
- Permalink
- Notify Moderator
You could make a sketch prior to the bend using project edges; extrude/cut that sketch; bend; extrude (planar surface) the sketch; and merge.
- Mark as New
- Bookmark
- Subscribe
- Mute
- Subscribe to RSS Feed
- Permalink
- Notify Moderator
I don't know what you're actual geometry is but I'm not sure we are talking about the same thing. The split area splits the driving surface into two or more areas and you then add a bend to the surface you want to bend, no need for an additional extrude to refill geometry. At least in what you're showing here, the split geometry could be the cutout geometry with two extensions across the the surface at the bend line. You then add the bend to what in this example is the left surface, the bend line is drawn across the geometry and it doesn't bend the tongue.
- Mark as New
- Bookmark
- Subscribe
- Mute
- Subscribe to RSS Feed
- Permalink
- Notify Moderator
I would create the as-formed part. Creo can create the flat-pattern and then you are done.


