
Turn on suggestions
Auto-suggest helps you quickly narrow down your search results by suggesting possible matches as you type.
Showing results for
Turn on suggestions
Auto-suggest helps you quickly narrow down your search results by suggesting possible matches as you type.
Showing results for
Community Tip - Learn all about PTC Community Badges. Engage with PTC and see how many you can earn! X
Options
- Subscribe to RSS Feed
- Mark Topic as New
- Mark Topic as Read
- Float this Topic for Current User
- Bookmark
- Subscribe
- Mute
- Printer Friendly Page
oloid model
Mar 09, 2010
02:38 PM
- Mark as New
- Bookmark
- Subscribe
- Mute
- Subscribe to RSS Feed
- Permalink
- Notify Moderator
Mar 09, 2010
02:38 PM
oloid model
Hello, I've learned about this really great shape called an Oloid and I was wondering how to make it in ProE. The shape is basically taking two disks of equal dims and perpendicularly intersecting them so they touch each others centers. Then after having the two disks together, you stretch a "skin," like a balloon, over the disks to make it a solid piece. Just look up oloid on google to get pictures. Ploting the disks is pretty easy but I have a hard time getting the "skin" on there, does anyone have any ideas? Thanks, Allen
This thread is inactive and closed by the PTC Community Management Team. If you would like to provide a reply and re-open this thread, please notify the moderator and reference the thread. You may also use "Start a topic" button to ask a new question. Please be sure to include what version of the PTC product you are using so another community member knowledgeable about your version may be able to assist.
This thread is inactive and closed by the PTC Community Management Team. If you would like to provide a reply and re-open this thread, please notify the moderator and reference the thread. You may also use "Start a topic" button to ask a new question. Please be sure to include what version of the PTC product you are using so another community member knowledgeable about your version may be able to assist.
Labels:
- Labels:
-
2D Drawing
12 REPLIES 12
Mar 10, 2010
12:27 PM
- Mark as New
- Bookmark
- Subscribe
- Mute
- Subscribe to RSS Feed
- Permalink
- Notify Moderator
Mar 10, 2010
12:27 PM
thats a cool shape! i think i would attempt that by using a skeleton of curves then patching it all together with surfaces from boundaries and useing the tangent boundary constraints so its all nice and smooth. theres probably 20 other ways to do it but that what came to mind first. might be able to do a surface free form and manipulating all those points
Mar 10, 2010
01:53 PM
- Mark as New
- Bookmark
- Subscribe
- Mute
- Subscribe to RSS Feed
- Permalink
- Notify Moderator
Mar 10, 2010
01:54 PM
- Mark as New
- Bookmark
- Subscribe
- Mute
- Subscribe to RSS Feed
- Permalink
- Notify Moderator
Mar 10, 2010
02:11 PM
- Mark as New
- Bookmark
- Subscribe
- Mute
- Subscribe to RSS Feed
- Permalink
- Notify Moderator
Mar 10, 2010
02:11 PM
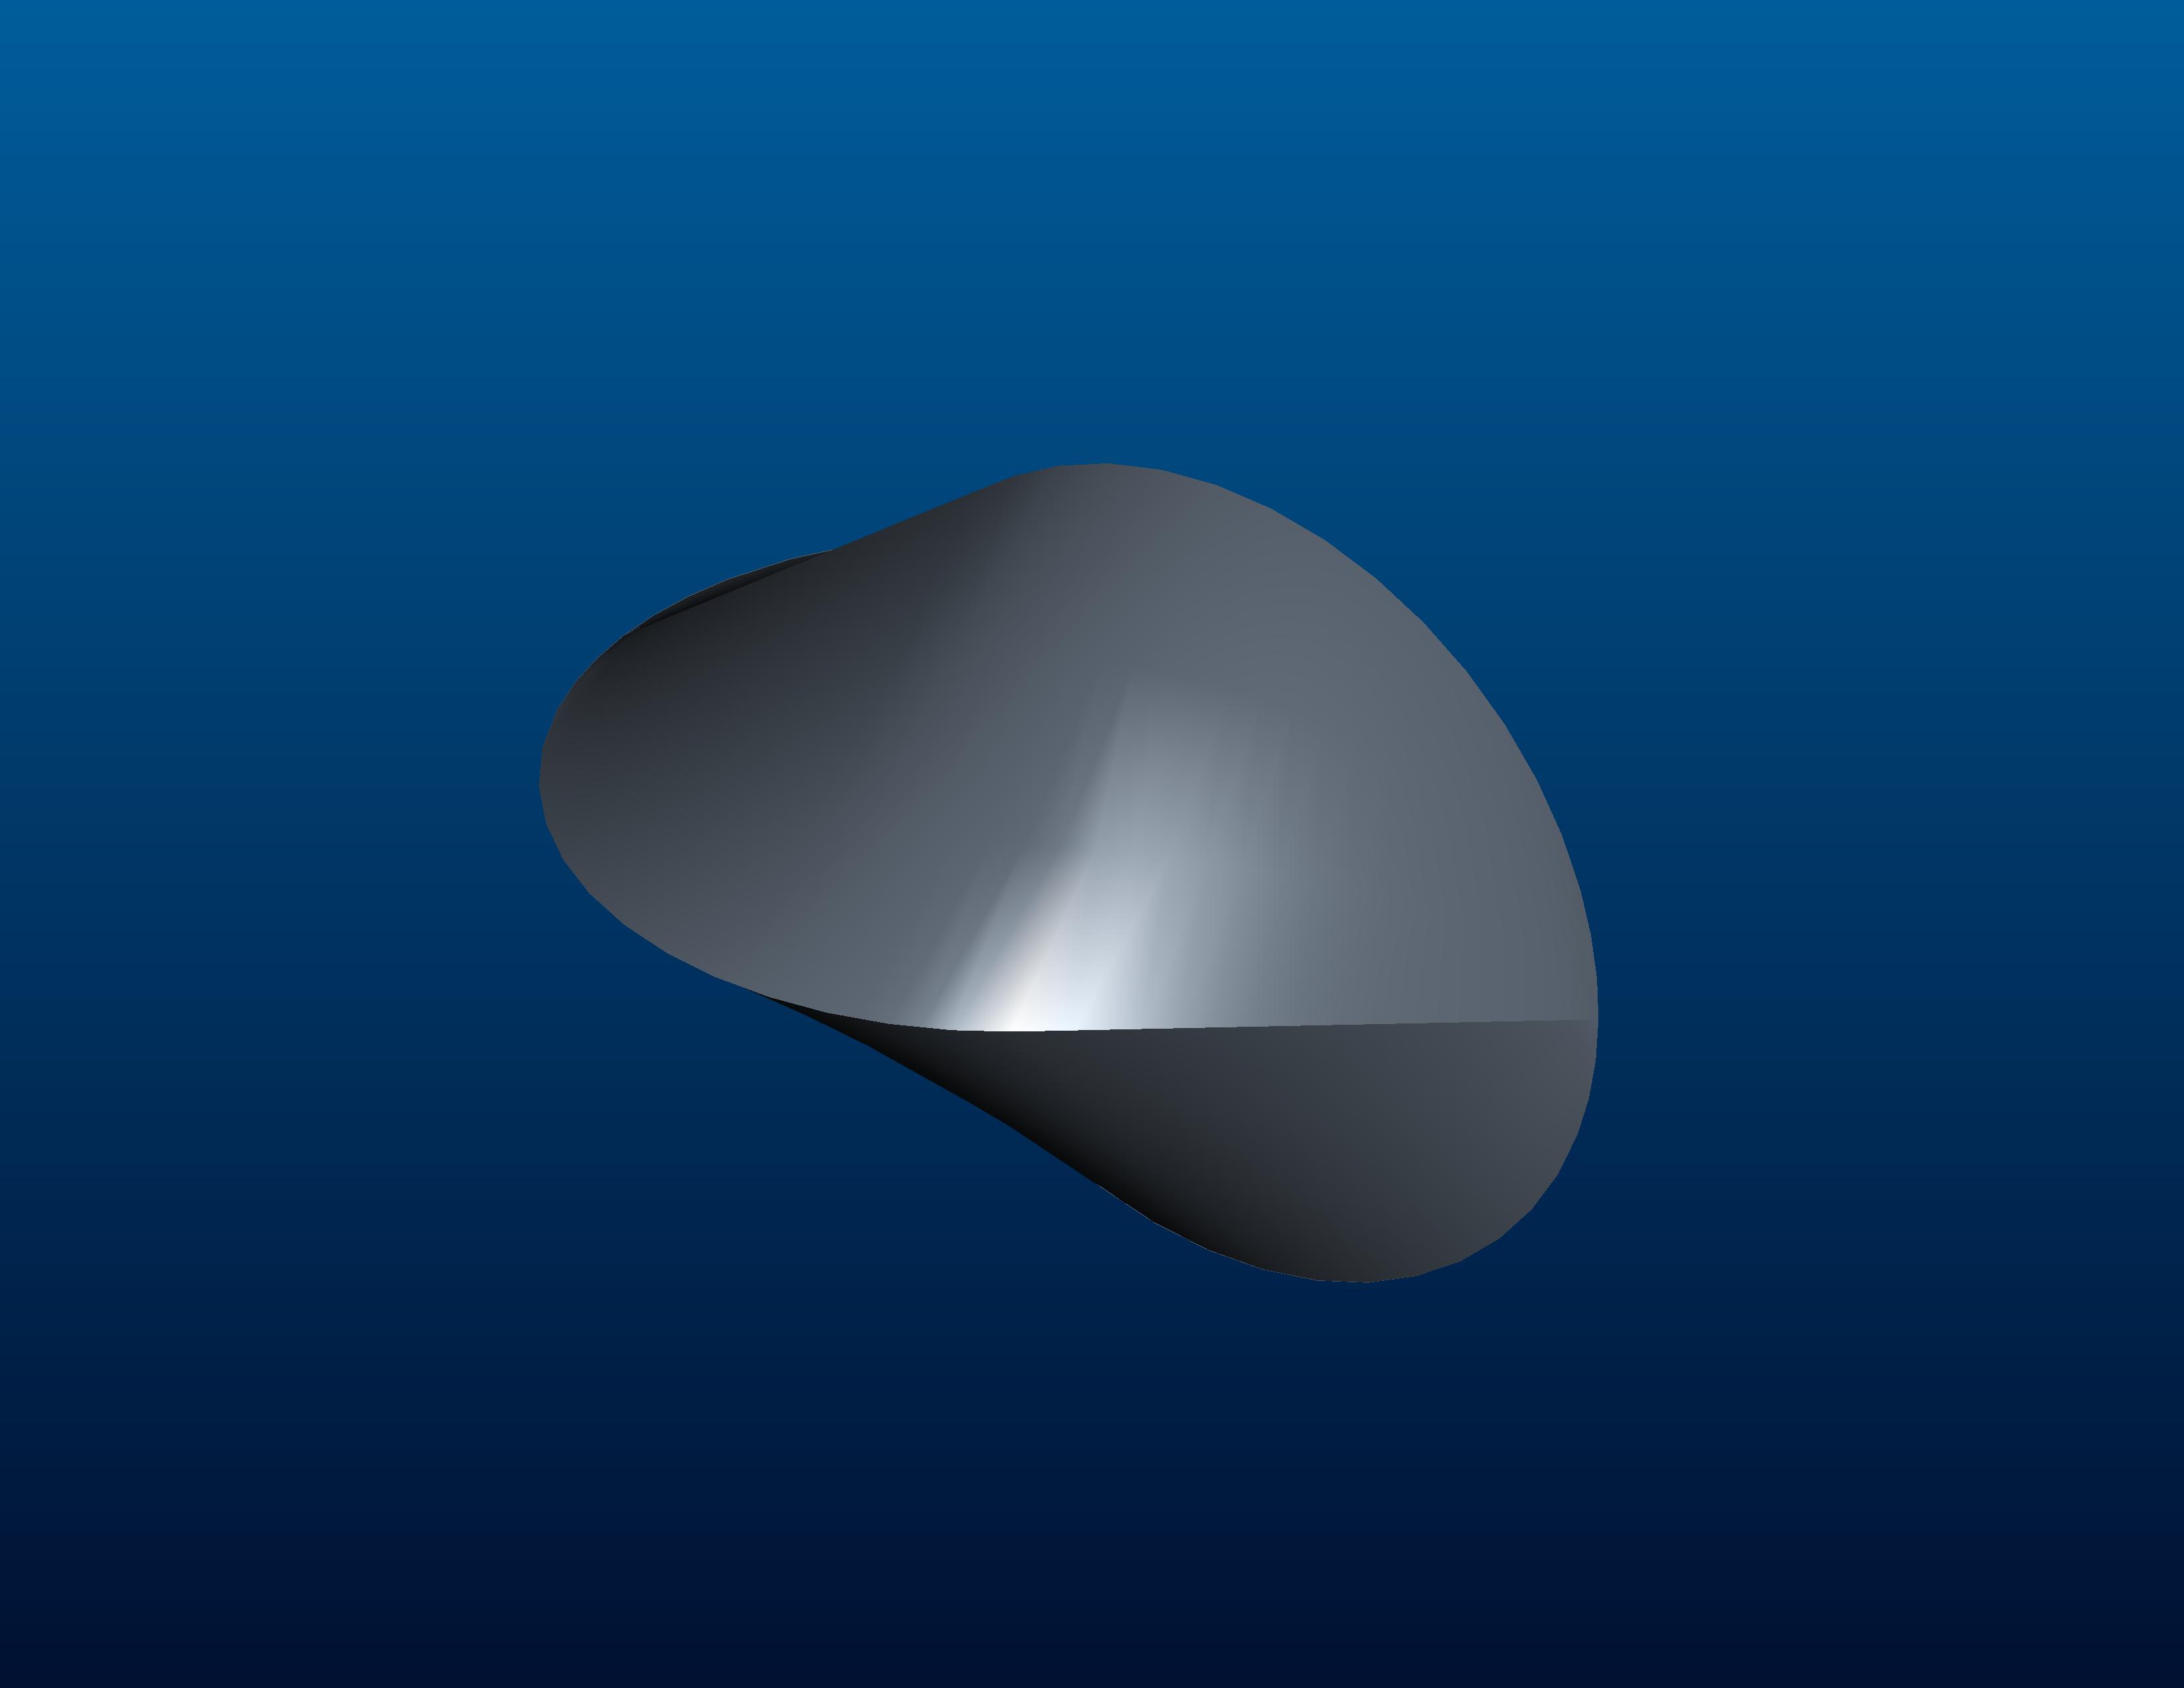
Here is a pic of my attempt. Sketched two circles and split them at the appropriate points. The created boundary blends for two of the sections and mirrored them across the appropriate planes. [/img]
Mar 10, 2010
04:24 PM
- Mark as New
- Bookmark
- Subscribe
- Mute
- Subscribe to RSS Feed
- Permalink
- Notify Moderator
Mar 10, 2010
04:24 PM
Two good responses already. Kevin, yours looks very smooth; which curves did you blend? In any case, you have to be careful to avoid "kinkiness" in the surface. Here is another (One Direction) Boundary Blend example which exercises tight control on the transition. It's built using a Pattern of Datum Points/On Curve/Relative. By the way, to make smaller JPEG's for the forum, pick Variable from the drop-down list. I generally use Height 4, Width 5, Margins 0.1
Mar 10, 2010
04:28 PM
- Mark as New
- Bookmark
- Subscribe
- Mute
- Subscribe to RSS Feed
- Permalink
- Notify Moderator
Mar 10, 2010
04:28 PM
nice job guys! yeah, mine is too sharp, i'll have to give it another go.
Mar 10, 2010
07:36 PM
- Mark as New
- Bookmark
- Subscribe
- Mute
- Subscribe to RSS Feed
- Permalink
- Notify Moderator
Mar 10, 2010
07:36 PM
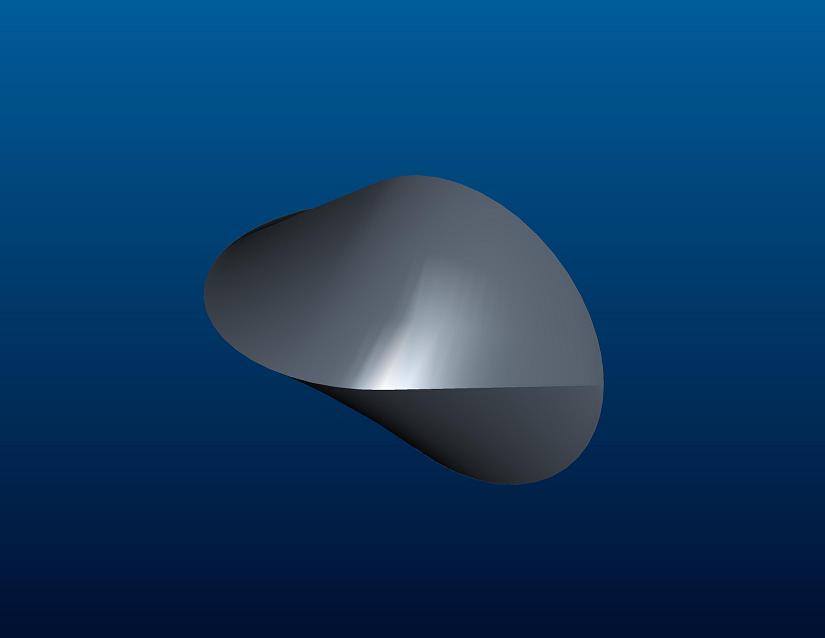
In the quarter development David shows I split that into two surfaces. The first time I tried I got the sharp edges too. I found a PDF on the web that details the development for an oloid. From looking at that it apeared that the blend should be between a 90 degree arc segment on one circle and a 30 degree arc segment on the other. Making two of those blends gave the quarter segment in David's picture. I merged the surfaces and then mirrored them. I merged those surfaces to make half of the oloid and then mirrored that geometry to make the complete oloid. I then merged those and solidified the geometry. I'll try posting the file tomorrow for you to take a look at.
Mar 10, 2010
07:58 PM
- Mark as New
- Bookmark
- Subscribe
- Mute
- Subscribe to RSS Feed
- Permalink
- Notify Moderator
Mar 10, 2010
07:58 PM
Kevin, you are right about the 30 to 90; in fact it's even a bit more subtle than that because the controlling trig functions mean that the 30 and 90 do NOT blend in a constant linear fashion. I got to thinking more about the thing, too, and realized that a "true" rolling Oloid needs a more subtly ruled surface. I will try to post again tomorrow, too.
Mar 11, 2010
09:39 AM
- Mark as New
- Bookmark
- Subscribe
- Mute
- Subscribe to RSS Feed
- Permalink
- Notify Moderator
Mar 11, 2010
09:39 AM
This is interesting. I'd post pics but I can't. I tried a variety of ways, and while they LOOKED good, there were some pretty marked differences in the actual surfaces that resulted. I did a one-direction boundary blend using only the end arcs. I did a blend using the end arc and line segment. I did a boundary blend of a quarter section. I did a VSS halfway with a spine that ran in a line from end to end. I revolved surfaces on each end and did a blend between the 2. These ALL resulted in different surfaces, sometimes drastically so, as I suspected. I'm wondering if Pro/E even has the capability of creating a true mathematically-correct oloid. you can probably get really close, but true.......?? Hmmm. Kevin, if you could please post a link to the PDF's you mentioned that'd be awesome. This is interesting though.
Mar 11, 2010
10:29 AM
- Mark as New
- Bookmark
- Subscribe
- Mute
- Subscribe to RSS Feed
- Permalink
- Notify Moderator
Mar 11, 2010
10:29 AM
I don't know if anyone checked wiki, but this might also be mentioned in other places too. Anyway, the thing about an oloid is that people have been able to calculate its surface area but no one has been able to find the true volume, they have only been able to approximate. So C M that might be why ProE or other software will never be able to plot it perfectly. But that's why I asked if anyone could plot it, I wanted to see how well it works. thanks again, Allen
Mar 11, 2010
05:41 PM
- Mark as New
- Bookmark
- Subscribe
- Mute
- Subscribe to RSS Feed
- Permalink
- Notify Moderator
Mar 11, 2010
05:41 PM
Here is the link to PDF for the oloid. The part is WF3. http://www.heldermann-verlag.de/jgg/jgg01_05/jgg0113.pdf[url]
Mar 12, 2010
08:04 AM
- Mark as New
- Bookmark
- Subscribe
- Mute
- Subscribe to RSS Feed
- Permalink
- Notify Moderator
Mar 12, 2010
08:04 AM
Here's a variation on the Boundary Blend approach that Kevin and I have been using for our models that more specifically controls the surface in accordance with what happens when a solid oloid rolls on a flat surface. The quarter surface is composed of two equivalent pieces. The blend is from line 30S-90S to 30F-90F with intermediate lines 1A, 2B, & 3C. A,B,&C divide the 90 degree arc equally (pattern at .25 Relative dimension). The 30 degree arc is divided in a sinusoidal fashion. {1-(cos(n*90/4))} Relative dimension where n is 1,2,3.
