Community Tip - Did you get called away in the middle of writing a post? Don't worry you can find your unfinished post later in the Drafts section of your profile page. X
- Community
- Creo+ and Creo Parametric
- Analysis
- Re: Fill pattern style (help)
- Subscribe to RSS Feed
- Mark Topic as New
- Mark Topic as Read
- Float this Topic for Current User
- Bookmark
- Subscribe
- Mute
- Printer Friendly Page
Fill pattern style (help)
- Mark as New
- Bookmark
- Subscribe
- Mute
- Subscribe to RSS Feed
- Permalink
- Notify Moderator
Fill pattern style (help)
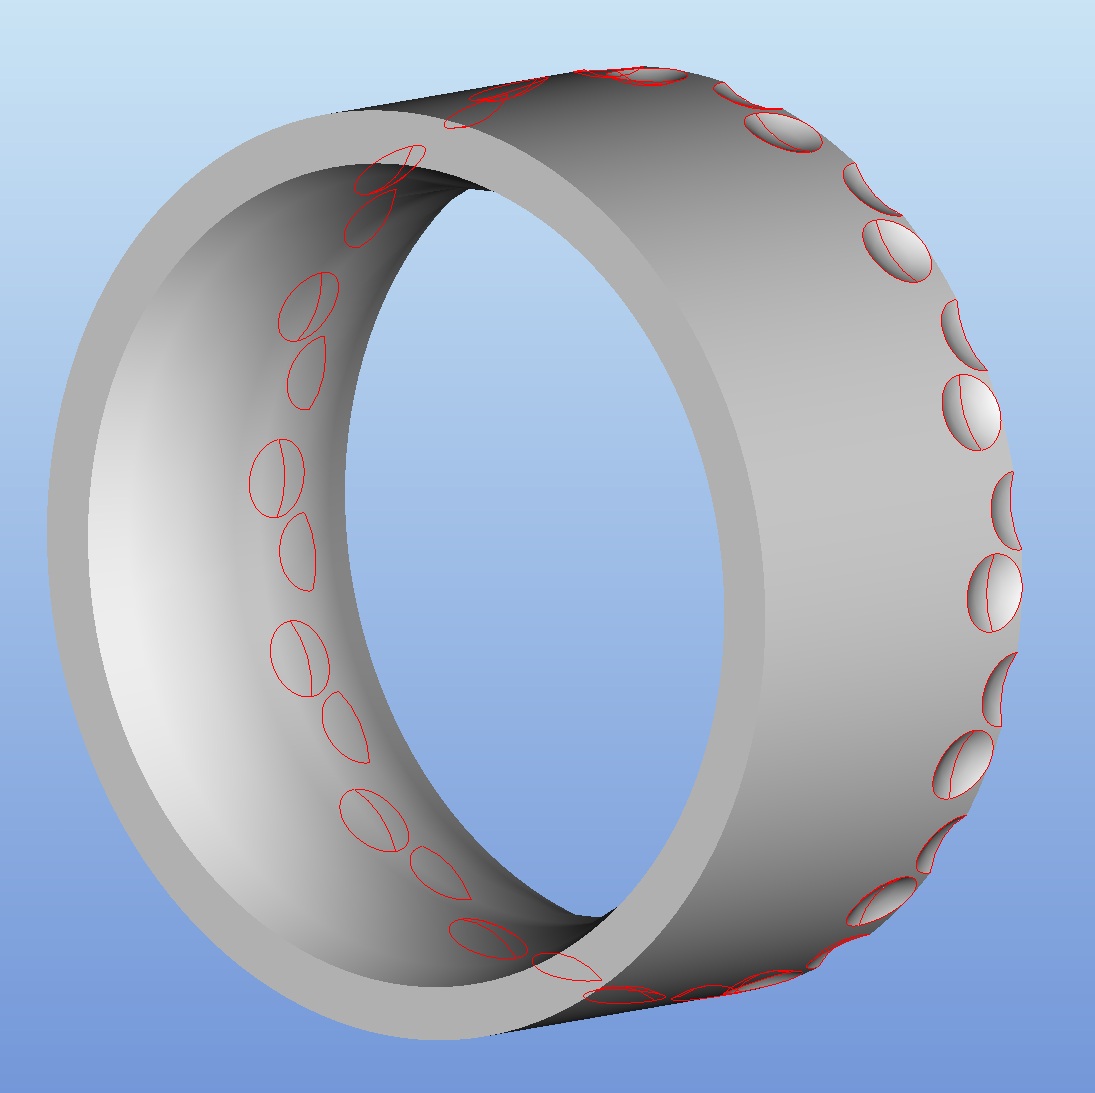
I've never used the fill option when creating a pattern and maybe this isn't even the right function that I trying to accomplish, any help would be great. I have a ring and I want to pattern a cut round, around the ring. I can figure out how many will fit and enter the quantity of instances to pattern and the angle. However is it possible to use the fill function or something similar so that pro/e will automatically calculate how many instances will fit around a given surface?
Here is a picture to help you understand. In the image I have two dimples that are grouped together and then patterned.

This thread is inactive and closed by the PTC Community Management Team. If you would like to provide a reply and re-open this thread, please notify the moderator and reference the thread. You may also use "Start a topic" button to ask a new question. Please be sure to include what version of the PTC product you are using so another community member knowledgeable about your version may be able to assist.
- Labels:
-
General
- Mark as New
- Bookmark
- Subscribe
- Mute
- Subscribe to RSS Feed
- Permalink
- Notify Moderator
Could you enter relations that would figure the circumference of the circle and divide that by the diameter of your cut (+ any space you would like for a minimum) to determine the number you will need, and then use that number to define the quantity of cuts around the ring?
-Greg
- Mark as New
- Bookmark
- Subscribe
- Mute
- Subscribe to RSS Feed
- Permalink
- Notify Moderator
Christian,
You can do this easily with an Axis Pattern. Fill Pattern is not what you want.

After telling the system how many you want, be sure to pick the little angle icon (instead of entering a value), and the system will do the rest for you.
David
- Mark as New
- Bookmark
- Subscribe
- Mute
- Subscribe to RSS Feed
- Permalink
- Notify Moderator
David:
The axis pattern is what I've been using. It is nice, and gets the job done, it just requires a lot of guess and check. If this is the best method so be it. As for the relations with the outer diameter and the diameter of the diameter of the dimple I'll give that a go.
Thank you both for your input.
- Mark as New
- Bookmark
- Subscribe
- Mute
- Subscribe to RSS Feed
- Permalink
- Notify Moderator
Yeah I think that the answer to this is a combination of mine and David's.
Use relations to determine the quantity required and then assign that number to a integer parameter, and then create your pattern as David described. After creating the pattern, you should be able to add a relation relating the number of instances to the integer parameter you created.
Should be magic after that.
-Greg
- Mark as New
- Bookmark
- Subscribe
- Mute
- Subscribe to RSS Feed
- Permalink
- Notify Moderator
There is a way to make this with fill pattern but you cant avoid using relations. First you must create sketch paralel to object. Lenght of that sketch must be equal to circumference of ring so when Creo/Proe wraps pattern on to surface of ring it covers entire surface.
And last you must deal with overlaping of pattern items by using simple equation. Down side is you must add *cos(45) or remove it depending of type of fill you are using.
Good side is changing ring size or changing number of pattern items gives quick results.
- Mark as New
- Bookmark
- Subscribe
- Mute
- Subscribe to RSS Feed
- Permalink
- Notify Moderator
Video rez is bad.So here are relations:
fill_sketch_height=ring_diameter*pi
/*Add " *cos(45) " at the end of line if using diamond pattern
/* 15 is number with witch you change "density" of pattern
cut_spacing=((fill_sketch_height+cut_radius/4)/15)
- Mark as New
- Bookmark
- Subscribe
- Mute
- Subscribe to RSS Feed
- Permalink
- Notify Moderator
Wonderful, I'll give that a go. Wasn't exactly the way I thought of doing it but it works.
Thank you.
- Mark as New
- Bookmark
- Subscribe
- Mute
- Subscribe to RSS Feed
- Permalink
- Notify Moderator
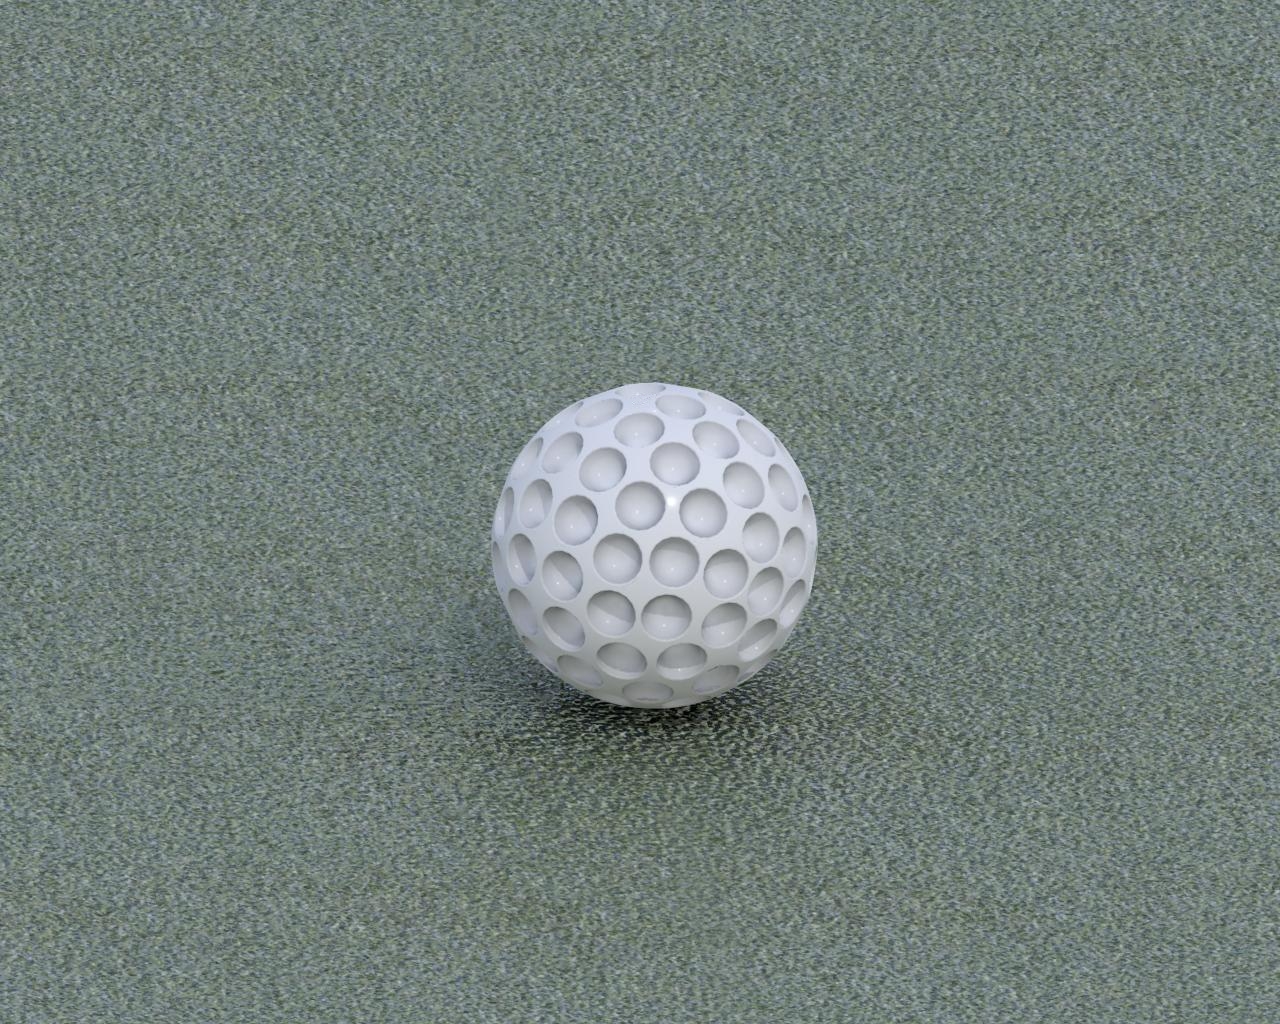
I saw you have been posting bunch of questions regarding similar thing. Basicly this the same way you do a golf ball or any other curved surface that needs pattern.
- Mark as New
- Bookmark
- Subscribe
- Mute
- Subscribe to RSS Feed
- Permalink
- Notify Moderator
I can understand any curved (straight) surface such as a ring but a curved surface such as a golf ball you'd have to show me.
- Mark as New
- Bookmark
- Subscribe
- Mute
- Subscribe to RSS Feed
- Permalink
- Notify Moderator
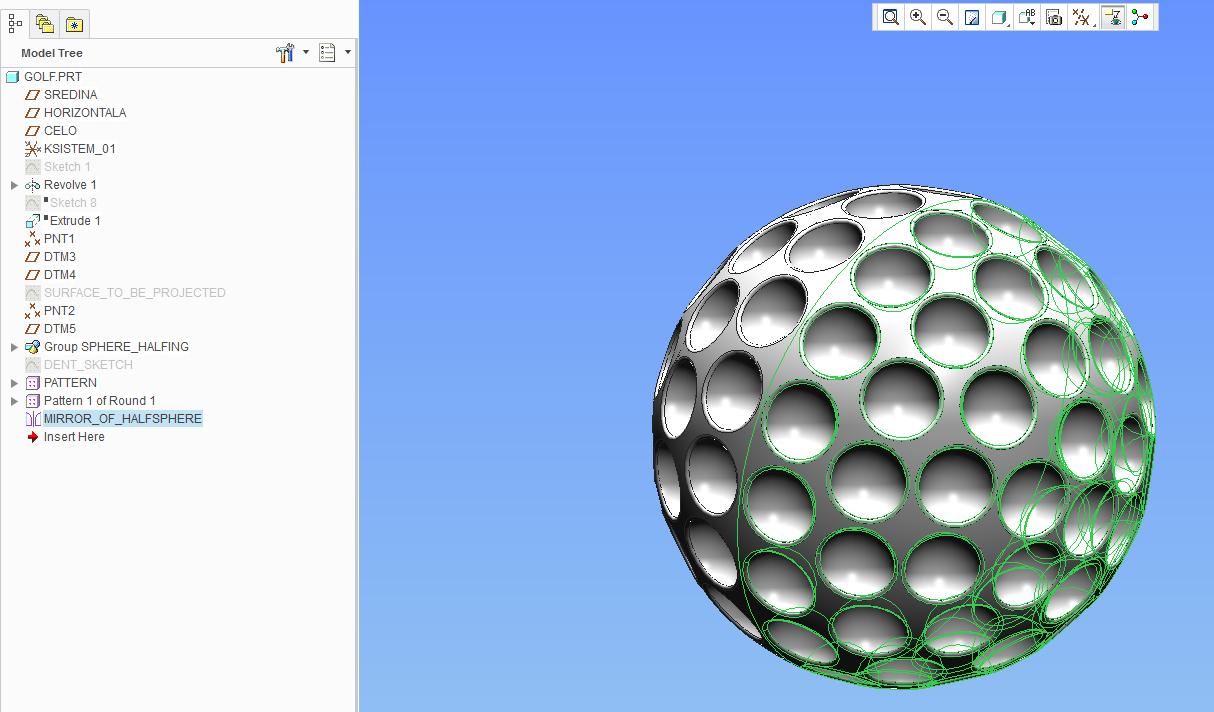
Golf ball is tricky. Main problem is that you cant project pattern to surface of ball with out it geting messed up on the back side of ball. Second problem is what pattern type to use.
Trick is to make half sphere not whole sphere and then project pattern on to it. Fill Pattern type must be circular. First dent u create in center of halfsphere surface. when you complete halfsphere you just mirror it.
Now comes problem with distance between pattern items on 1 halfsphere and other. You must use a bit of math in relations to achive nearly perfect ball.


- Mark as New
- Bookmark
- Subscribe
- Mute
- Subscribe to RSS Feed
- Permalink
- Notify Moderator
Nice Model!
-Greg
- Mark as New
- Bookmark
- Subscribe
- Mute
- Subscribe to RSS Feed
- Permalink
- Notify Moderator
Davor:
Here is what I've done. created a plane 1" off the center datum. Created a sketch with equal width of ring, and pi*diameter of the ring for length. From there I'm not sure what do to. Sorry I haven't really ever had to deal with the wrap feature. To create the patturn I see in your video is that on your sketch? If you don't mind please explain what to do after the point where I'm at.
Thank you
- Mark as New
- Bookmark
- Subscribe
- Mute
- Subscribe to RSS Feed
- Permalink
- Notify Moderator
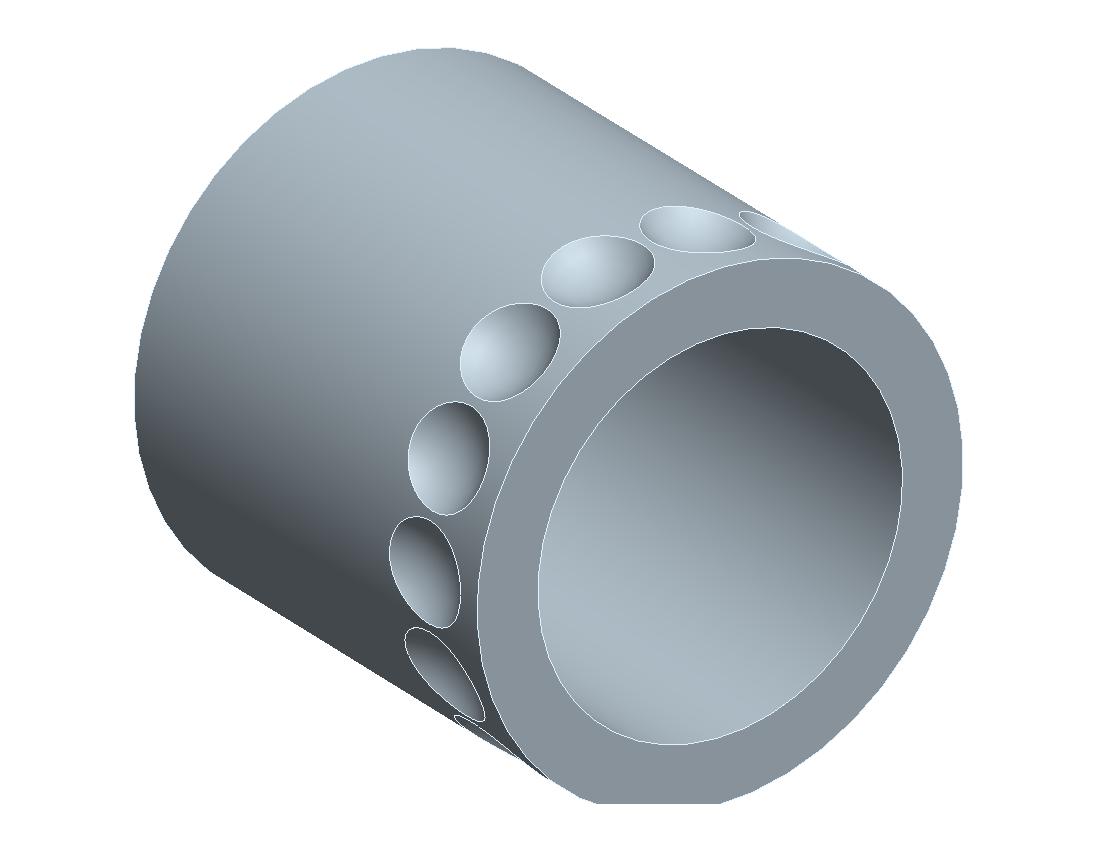
Now you need to make a dent on the ring. then you pattern it with fill, choose sketch that you have made and in options chose "follow surface shape"
choose ring outer surface. Choose "follow surface direction" and put "map to surface UV space".
Here is the prt file. You can figure it out by mesing with it.


