Community Tip - Your Friends List is a way to easily have access to the community members that you interact with the most! X
- Community
- Creo (Previous to May 2018)
- Creo Modeling Questions
- Re: Detailed view sectioned while view it's taken ...
- Subscribe to RSS Feed
- Mark Topic as New
- Mark Topic as Read
- Float this Topic for Current User
- Bookmark
- Subscribe
- Mute
- Printer Friendly Page
Detailed view sectioned while view it's taken from is not.
- Mark as New
- Bookmark
- Subscribe
- Mute
- Subscribe to RSS Feed
- Permalink
- Notify Moderator
Detailed view sectioned while view it's taken from is not.
There may be a simpler way to do this. If so, enlighten me.
I am making a detailed view (actually of a detialed view - but I digress).
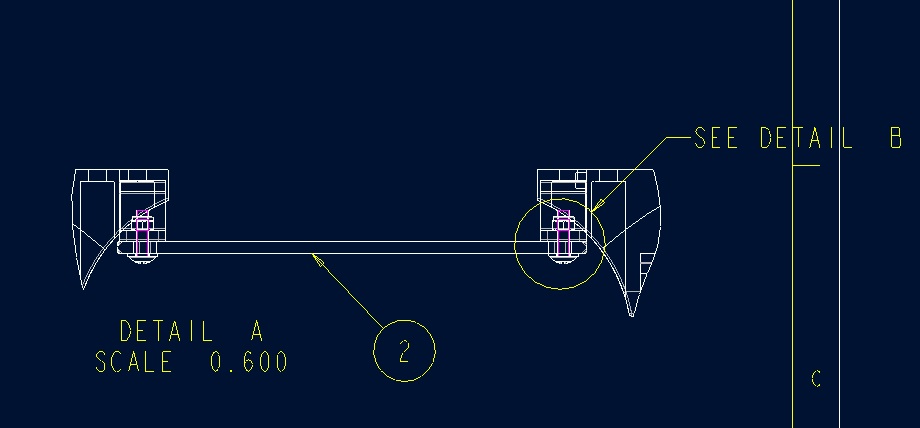
I would like to make detailed view B to be sectioned (showing cross hatching) through the centerline of the screw but I can't seem to do this.
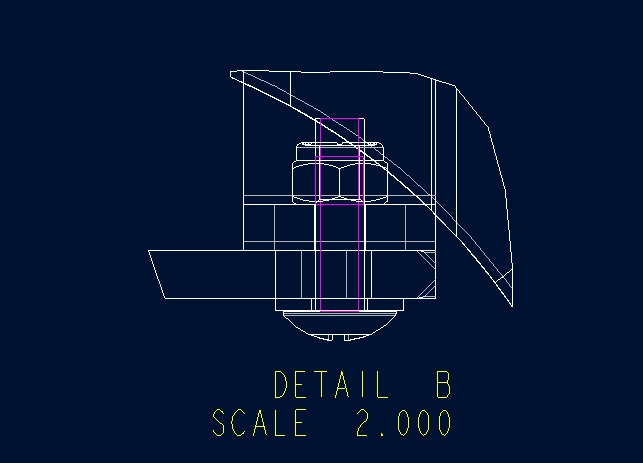
But I can make a general view, but it then doesn't have the detailed view circle.
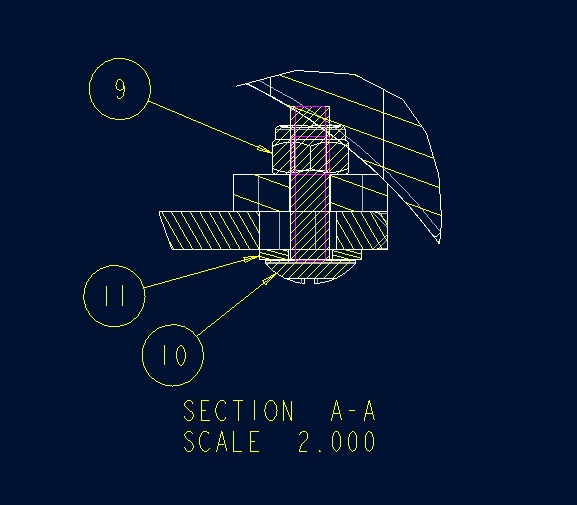
Thanks,
Dale
Solved! Go to Solution.
Accepted Solutions
- Mark as New
- Bookmark
- Subscribe
- Mute
- Subscribe to RSS Feed
- Permalink
- Notify Moderator
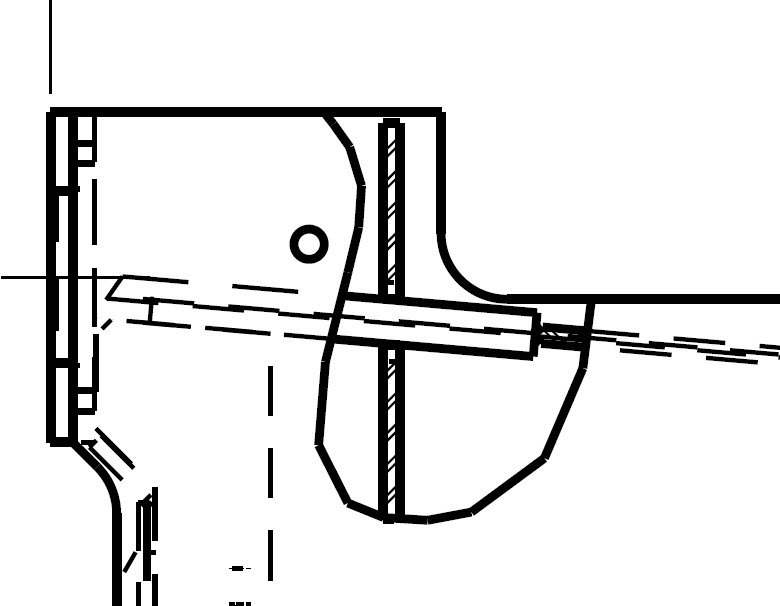
Since the detail view is just a scaled up area of the original view, you will have to add the cross section to the original view (in your case, the view where detail A comes from. Make it a LOCAL cross section (breakout) so it only shows up in the area you need it and not the entire view.

- Mark as New
- Bookmark
- Subscribe
- Mute
- Subscribe to RSS Feed
- Permalink
- Notify Moderator
Is there then a way to turn it off in either the parent view &/or Detail A?
- Mark as New
- Bookmark
- Subscribe
- Mute
- Subscribe to RSS Feed
- Permalink
- Notify Moderator
Nope, since it's a real detail view, you are stuck with it coming from the original view.
- Mark as New
- Bookmark
- Subscribe
- Mute
- Subscribe to RSS Feed
- Permalink
- Notify Moderator
Is there a way to use the detailed view boundary from the parent veiw for the detailed view boundary for Detail B?
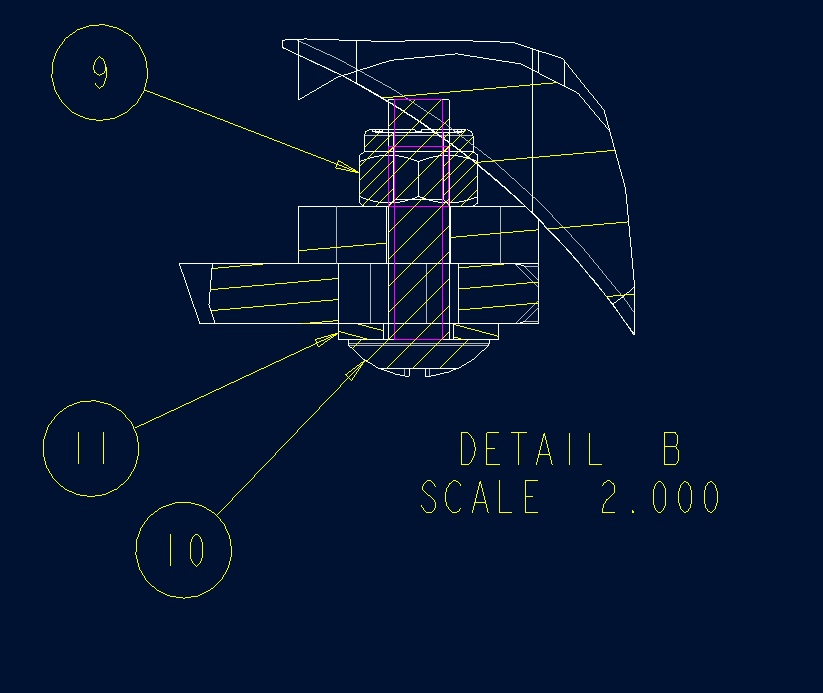
As you can see, they don't quite line up?
- Mark as New
- Bookmark
- Subscribe
- Mute
- Subscribe to RSS Feed
- Permalink
- Notify Moderator
Work around, just make sure your second circle (shape) is smaller that your original.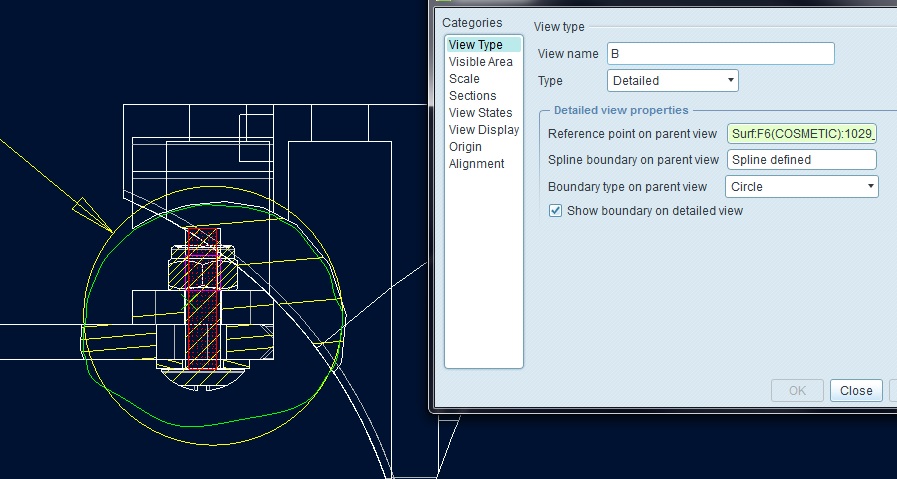
- Mark as New
- Bookmark
- Subscribe
- Mute
- Subscribe to RSS Feed
- Permalink
- Notify Moderator
This is really a function of drafting rules that have been around much longer than CAD. A detailed view, by definition, is a scaled up look at part of the original view. If the original was sectioned, the detail should be sectioned.
It's a drafting rules limitation more than a Creo limitation.
- Mark as New
- Bookmark
- Subscribe
- Mute
- Subscribe to RSS Feed
- Permalink
- Notify Moderator
Doug, would there be another way to do this that is CAD/drafting correct, yet achieving the same results?
- Mark as New
- Bookmark
- Subscribe
- Mute
- Subscribe to RSS Feed
- Permalink
- Notify Moderator
That's a bit like asking if there's a way to drive 80 MPH without actually breaking the 65 MPH speed limit. ![]()
You could make a partial, stand alone, scaled up view and place the section arrows on another view. I'd make the length of the cutting line roughly match the area you are sectioning.
This begs the question, how are you communicating where section A-A is cut? Does A-A exist elsewhere? If so, just make a detailed view from there.
- Mark as New
- Bookmark
- Subscribe
- Mute
- Subscribe to RSS Feed
- Permalink
- Notify Moderator
Actually, I meant CAD correct (i.e. following standard guidelines) that would communicate the same idea.
- Mark as New
- Bookmark
- Subscribe
- Mute
- Subscribe to RSS Feed
- Permalink
- Notify Moderator
I'm not sure I understand the distinction. I think either a stand alone, partial view with cutting arrows on another view or a detailed view from the main section A-A view would be how I'd handle it.

