Community Tip - Have a PTC product question you need answered fast? Chances are someone has asked it before. Learn about the community search. X
- Community
- Creo+ and Creo Parametric
- 3D Part & Assembly Design
- Distance Between Two Parallel Lines Shows as 0 in ...
- Subscribe to RSS Feed
- Mark Topic as New
- Mark Topic as Read
- Float this Topic for Current User
- Bookmark
- Subscribe
- Mute
- Printer Friendly Page
Distance Between Two Parallel Lines Shows as 0 in 3D Part – Projection and Measurement Issues
- Mark as New
- Bookmark
- Subscribe
- Mute
- Subscribe to RSS Feed
- Permalink
- Notify Moderator
Distance Between Two Parallel Lines Shows as 0 in 3D Part – Projection and Measurement Issues
I'm currently facing a peculiar issue in Creo Parametric while working on a 3D part, and I'm hoping to get some guidance from you all.
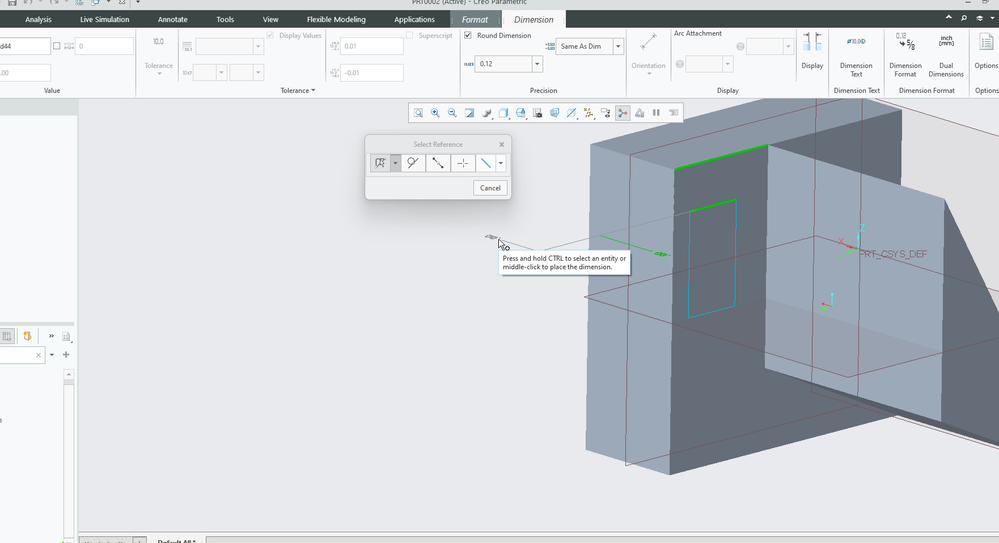
Here's the situation: I have two parallel lines that I'm working with. One line is part of a 2D sketch, created on a specific plane. The other line exists on the original 3D body of the part. When I select both lines to measure the distance between them, it's displaying as zero, which is obviously incorrect.
I initially assumed that the line from the 3D body would automatically project onto the sketch plane, giving me the correct distance. It seems that isn't happening.
My Questions Are:
1. **Is the zero distance reading possibly a result of the lines existing in different planes?**
2. **Does Creo Parametric automatically project 3D lines onto a 2D sketch plane for measurement, or do I need to do this manually?**
3. **If manual projection is required, what are the steps to project a 3D line onto a 2D sketch plane?**
4. **Once projected, how can I accurately measure the distance between the two lines?**
I find it crucial to have accurate measurements between sketch entities for a robust and reliable design, so any insights you can provide would be extremely helpful.
Thank you so much for taking the time to read my post, and I'm looking forward to hearing your suggestions and solutions.
- Labels:
-
2D Drawing
-
General
- Mark as New
- Bookmark
- Subscribe
- Mute
- Subscribe to RSS Feed
- Permalink
- Notify Moderator
Creo is almost certainly doing what you are asking it to do.
Interpreting your screen shot:
You are not using the measure tool in the analysis tab. Terminology matters so try to use terms consistent with the PTC documentation.
You are creating a dimension (annotation ?) and your references appear to be coplanar which is generating a "zero" dimension.
Involute Development, LLC
Consulting Engineers
Specialists in Creo Parametric


