- Community
- ThingWorx
- ThingWorx Developers
- Loading Image (Progress) for Mashups
- Subscribe to RSS Feed
- Mark Topic as New
- Mark Topic as Read
- Float this Topic for Current User
- Bookmark
- Subscribe
- Mute
- Printer Friendly Page
Loading Image (Progress) for Mashups
- Mark as New
- Bookmark
- Subscribe
- Mute
- Subscribe to RSS Feed
- Permalink
- Notify Moderator
Loading Image (Progress) for Mashups
While web pages are loading, we usually can see a little loading image in a middle of pages. In ThingWorx, many developers asked me about how to implement that feature in their applications. It is not hard to implement once you know how. Here are steps. Note that this is a kind of concept and idea, so please take advantage of this trick to expand your techniques.
Step 1. Make a Media
Make a media for the loading image. For that image, you can easily find one from google or other search sites.

Step 2. Make a Mashup
Create a loading mashup. I used static mashup of 100*100 size. And add an image widget for the loading media.

As you can see from the above, you need to bind "EntityChanged" event of "Entity" data from the session tab to "CloseIfPopup" service of the loading mashup.
Step 3. Create a Service
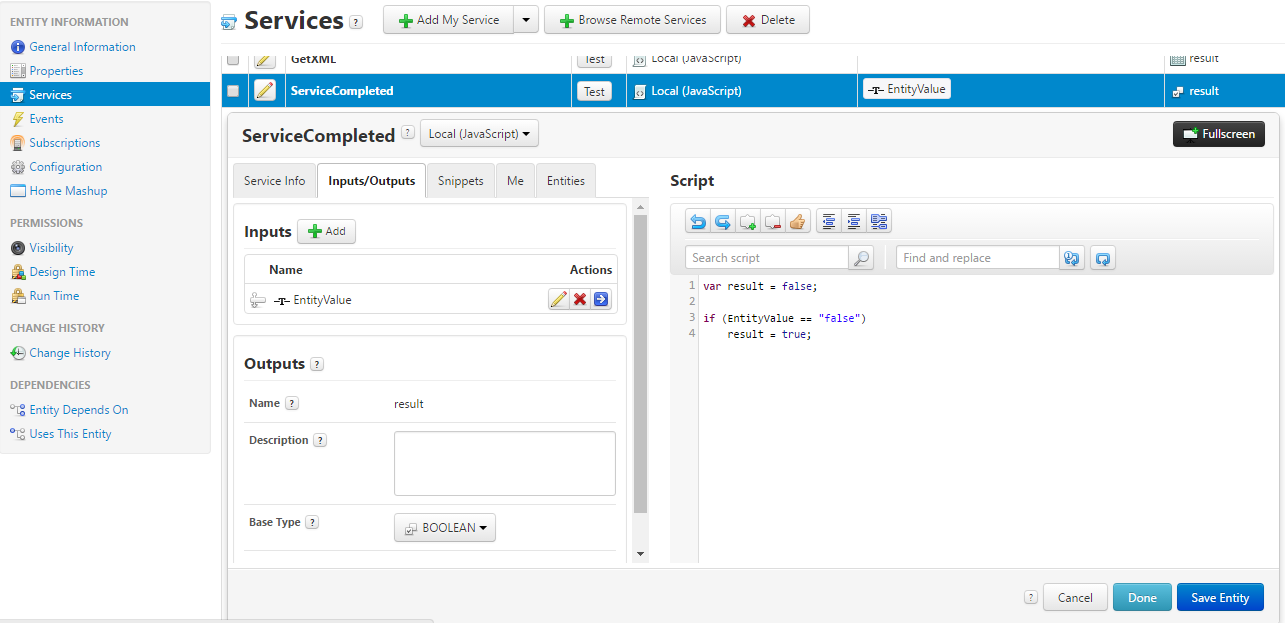
Make a service to change the entity value once the loading or saving works done in your mashup. (You may want to create a thing to do this.)

Step 4. Add a Navigation widget and a ServiceCompleted service
Add a navigation widget in your mashup and add the "ServiceCompleted" service. Set the "MashupName" for the navigation widget with the loading mashup that you made at step 2. Select the "Modal Popup" for "TargetWindow" and uncheck "ShowCloseButton". Make the navigation widget invisible by clear the selection of "visible" property.

Step 5. Make Bindings
When user clicks "Get Data" button in this example, the loading mashup will be popped up and it will be closed once the loading job is done.
To do that, make a binding from "ServiceInvokeCompleted" event of the GetCheckList service (this service will be triggered by the button click event) to ServiceCompleted service. Since the "ServiceCompleted" service needs a input parameter, bind the "EntityValue" parameter with "Entity" from the session tab. And drag and drop the "result" of "All Data" to "Entity" of the session tab. By changing the entity value of its session, it will trigger the entity change event of modal popup page (in this case, the loading mashup) and the modal page will be closed.
Step 6. Test
Check if it works correctly or not.
- Labels:
-
Examples
-
Mashup-Widget


