15-Moonstone
January 3, 2017
Solved

how to display comps in one drawing view but hide in other

  • January 3, 2017
  • 2 replies
  • 33673 views

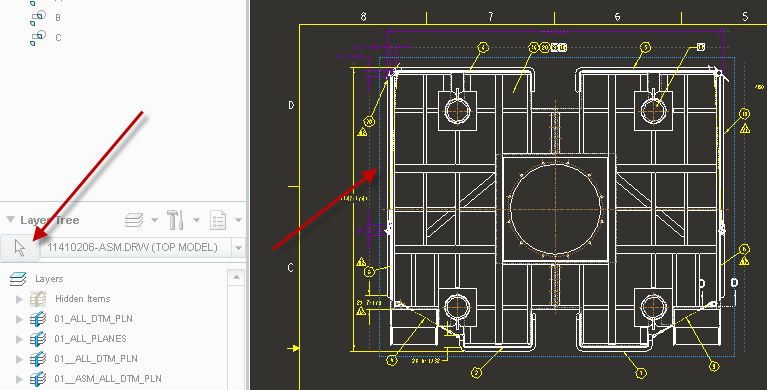
I would like to be able to make drawings in which I hide the top die of an assembly in one view and cross hatch a section of top and bottom in another view.  Is there an easy way to do this?

I've heard that this might be possible with Layer States or Simplified Rep's of which I haven't been able to figure out.

Best answer by StephenW

I have seen area cross sections *limit* functionality before. I tried it on one of my drawings, works great on a normal x-section but gives the error message on area cross section.

You can do what you want using layers or simplified reps too.

Create a layer in your assembly, add that component to layer. In the drawing, select the layer tree "selection arrow" and pick the view (specifically the border of the view that is highlighted around the view), then HIDE the layer you put the component on. Once you do this, right click in the layer area and hit save status.

2 replies

23-Emerald III
January 3, 2017

The easiest way to do this is COMPONENT DISPLAY in the LAYOUT TAB of the drawing.

LAYOUT - COMPONENT DISPLAY - BLANK then select the component you want to erase in the view you want to erase it in.

pimm15-MoonstoneAuthor
15-Moonstone
January 3, 2017

It looks like this should work but I think the cross section view is preventing this from happening.

area cross section.JPG

StephenW23-Emerald IIIAnswer
23-Emerald III
January 3, 2017

I have seen area cross sections *limit* functionality before. I tried it on one of my drawings, works great on a normal x-section but gives the error message on area cross section.

You can do what you want using layers or simplified reps too.

Create a layer in your assembly, add that component to layer. In the drawing, select the layer tree "selection arrow" and pick the view (specifically the border of the view that is highlighted around the view), then HIDE the layer you put the component on. Once you do this, right click in the layer area and hit save status.

23-Emerald IV
January 3, 2017

Back in the day when I was designing Prog. dies we used simplified reps. for these.  We had "Upper", "Lower", "Master", and "Die Set" added to all of our top level die assemblies.  We also added the strip layout to a layer so it could be turned on and off regardless of which rep. was active.  This made detailing super easy.  You can then also make mapkeys (and corresponding buttons) to quickly switch between the different reps and hide or show the strip while you're designing.

pimm15-MoonstoneAuthor
15-Moonstone
January 3, 2017

That is a very good idea Tom.

I would like to get models and drawings optimized so I don't have to re apply time with every new job.