1-Visitor
March 19, 2014
Question
Modelling a Hacksaw Blade (Creo Parametric 2.0)
- March 19, 2014
- 0 replies
- 2395 views

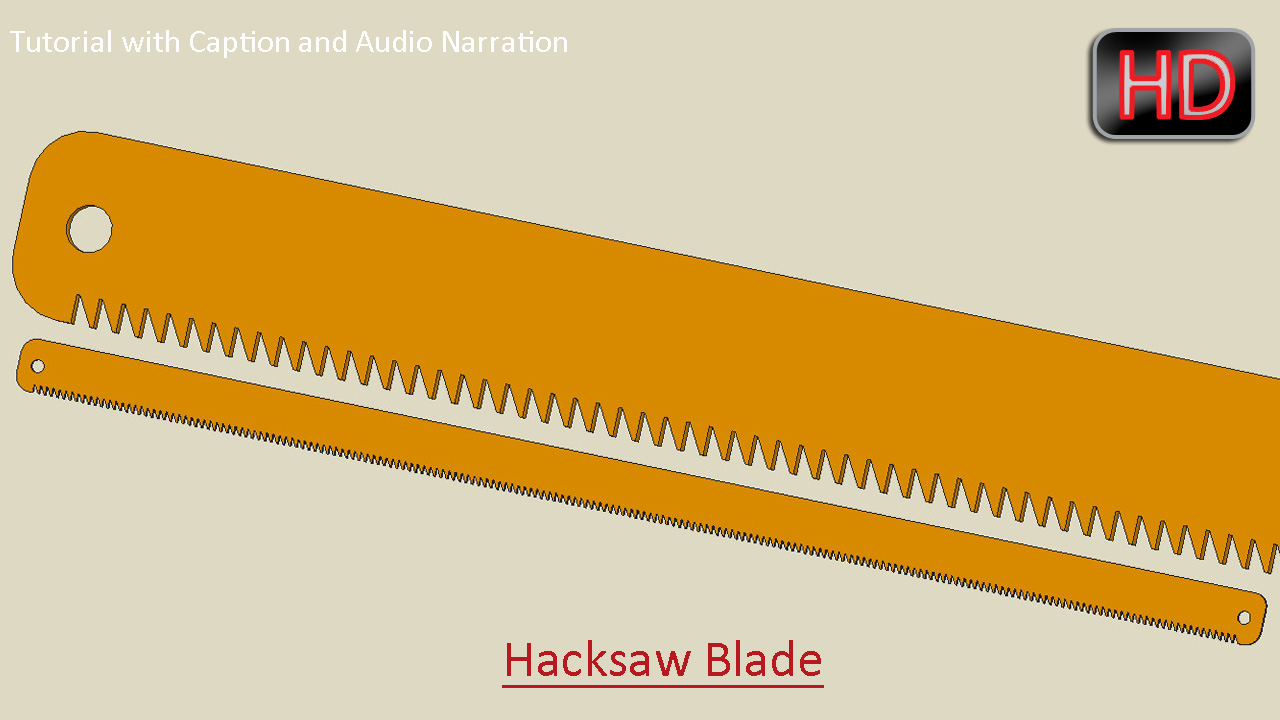
In this video tutorial creation of a Hacksaw Blade is displayed. Viewers will be able to watch application of many part modelling tools like Extrude, Round, Hole, Mirror and Pattern as well as 2D sketching techniques are also shown.
Transcription of Video
- Start a new part file from scratch and give it a name ‘Hacksaw Blade.’
- Select the Top Datum plane and create a new sketch on this plane.
- Click the Sketch View icon. This will orient the sketching plane parallel to the screen.
- Close the visibility of the Datum Planes, Axis and Points etc. to make the screen clear.
- Pick the Centre Rectangle tool from the Sketching panel.
- Draw a Rectangle and apply the dimensions as displayed.
- As soon as the new dimensions are applied the software will automatically adjust the view of design window so that the sketch can be seen clearly.
- Click green check mark to finish the sketch.
- Activate the Extrude Tool from the Shape Panel.
- Select the sketch and define the depth value.
- Select extrude both side of the sketch equally option and execute the command.
- Change the colour of the part according to your wish so that it can be acknowledged easily in the design window.
- Activate the Reorient tool and position the model in an isometric view using navigation tools.
- Save this view for future reference.
- Save the part file.
- Activate the Round Tool from the Engineering Panel.
- Select four outer edges of the model.
- Define the radius of the round and execute the command.
- Activate the Hole tool.
- Select the Top Face of the model to define the Placement Reference.
- Enter the Diameter Value for the drilled hole.
- Set the offset references of the hole and fill the corresponding offset values.
- Select through all option and execute the command.
- Open the visibility of Datum Planes.
- Select the Hole 1 in the Model Tree and activate the Mirror Tool from the Editing Panel.
- Select Right Datum Plane as Mirroring Plane and execute the command.
- Select the top face of the model and start a new sketch on this face.
- Specify two references for the sketch.
- Draw a sketch with the help of line tool as displayed.
- Apply the dimensions as displayed.
- Click green check mark to finish the sketch.
- Activate the Extrude Tool and select the sketch.
- Flip the Depth Direction.
- Select Remove Material option and Through all option.
- Click the green check mark to apply and save the changes.
- Select the Extrude 2 in the Model Tree and activate the Pattern Tool from the Editing Panel.
- Set Direction as the type of pattern.
- Select the front edge of the model to define the direction of the pattern.
- Enter the number of members to be patterned.
- Define the spacing between the pattern members.
- Click the green check mark to apply and save the changes.
- So fully developed model is visible in the graphics window.

