1-Visitor
February 9, 2012
Question

Inserting images in Creo

  • February 9, 2012
  • 3 replies
  • 30319 views

I found a thread with some intructions for adding images to surfaces, but they were for ProE menus. I thought I'd share how to do it in Creo - it really gives your robot model a "pop". Basically, you are going to create an appearance like a color or a texture and then you will apply it to a surface on a part. Here's the step by step:

Select the arrow next to the Appearance Gallery Icon >>More Appearances – Appearance Editor comes up. Select the Map tab, go down to Decal and select “Image” from the pull down menu. Select the box to the left and a file selection menu will come up. In the select type pull down menu you can specify which type of image file to look for, navigate to the folder and file containing the image file you want to use, then select it. This will become an appearance choice that you can apply to a surface. It auto-sizes the image to fit the entire surface – there is a choice to edit decal placement but it seems to be grayed out and I haven’t been able to get it to work – any suggestions? I guess you could create a very thin part that is actually a decal and then put it on where you want it in the assembly. As a work around, I create the entire image with all the logos in PowerPoint to the correct scale (set slide size to the size you want and scale the individual images to it) and then save the whole slide as a jpeg.

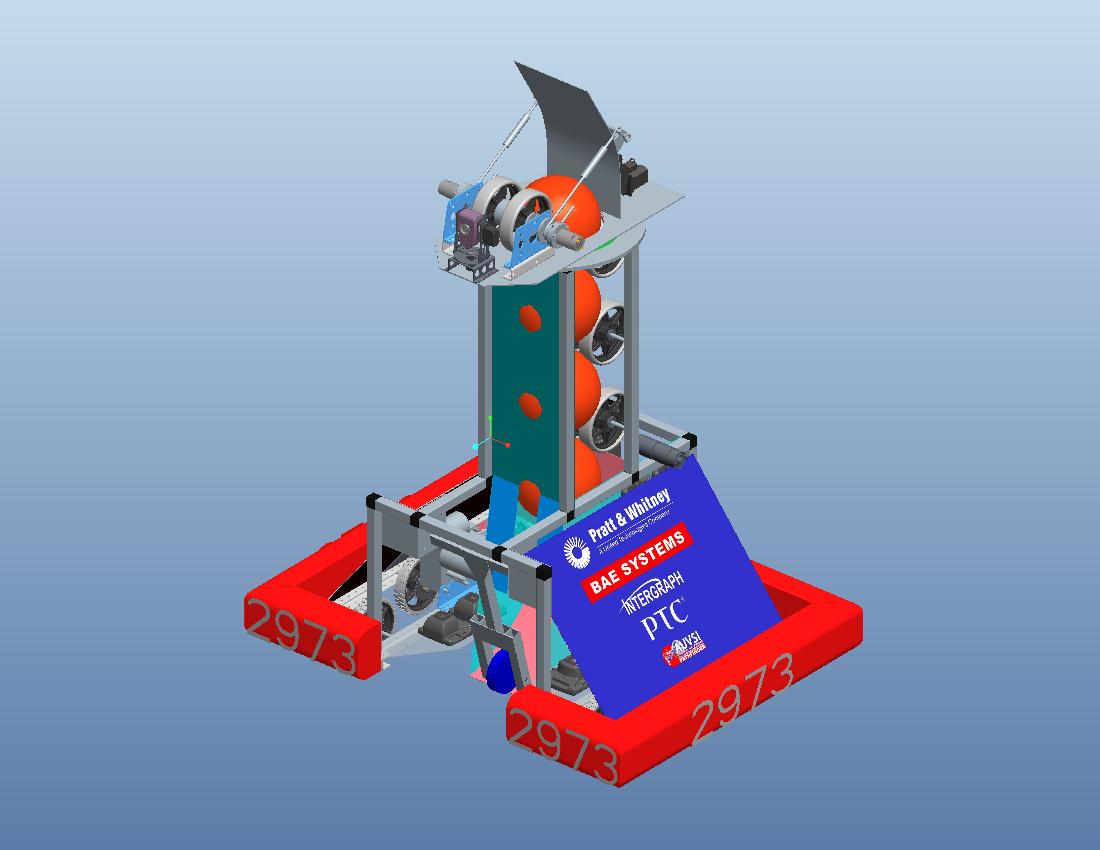
Here's what it looks like on our robot (yes I know you can only hold 3 balls - the top one is to get the shooter spacing correct).

frc2973_2012_logos.jpg

    3 replies

    1-Visitor
    April 23, 2012

    Gary,

    I just encountered the same exact problem. Have you found a solution? Thank you.

    --Neal

    -

    1-Visitor
    April 23, 2012

    I think the solution is to create a separate decal part, then assemble the decal onto the surface. For instance, if you have a 3x4 image you want on a 20x20 surface, first you make a thin extrusion 3x4x .010 thick and put the image on one side. Then you assemble the decal onto the surface wherever you want it.

    12-Amethyst
    April 23, 2012

    Gary,

    SteveChoryan shared a Decal Tutorial that I think would help

    1-Visitor
    March 24, 2013

    I had huge bother trying to place my decals correctly and eventually stumbled upon a solution. The edit placement button had been greyed out for me also.

    1. Select the eyedropper in the edit appearance window.

    2. Click on the decal in the model.

    3. Edit appearance buttons appear in green.

    4. Bob's your uncle!

    Untitled.png

    17-Peridot
    March 24, 2013

    Yep, that's the trick.

    Now, since you are using the bump file as well, remember to edit it to exactly the same values as the decal so they align properly for rendering.

    1-Visitor
    March 27, 2015

    Is there any way to apply a thin label component to a curved surface in an assembly, where the thin label is stretched around the curve? Thanks for any input.