Hi Raj...
The easiest way is, as Tom suggested, use Flexible Modeling to move the holes. If you don't have the FMX (Flexible Modeling Extension) to Creo, you'll have to go "old school" to remove the holes and then place them back in again at the desired location. ATB will be of no use for this problem.
Using the old school model editing methods, you will not be able to move the hole- you must delete it and make new ones. To get rid of the old holes, you'll need to enter the IDD (Import Data Doctor). To do this, edit definition on the imported feature. You'll see this set of icons appear on your menu... these are the icons used for the Import Data Doctor:
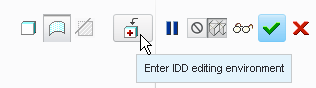
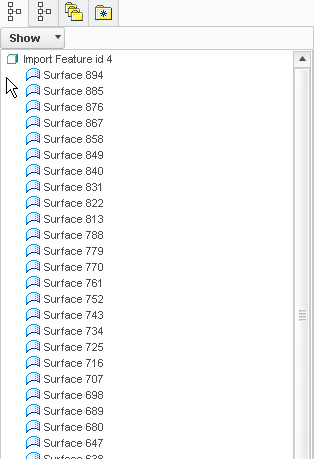
Click the icon indicated above to enter the IDD Editing Environment. Your model tree will then change. Instead of seeing one feature for your imported geometry, you'll see a series of individual surfaces... like this:
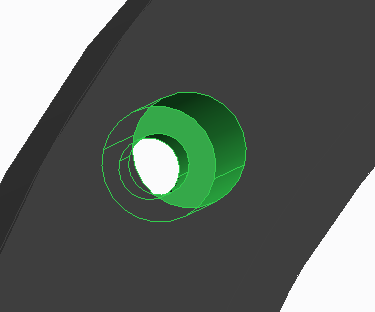
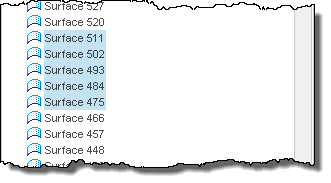
Once you're in this mode, you can select all the surfaces of the holes you wish to delete. In the image below, I've selected multiple surfaces. You can see from the model tree (below the model image) that the surfaces are being selected...
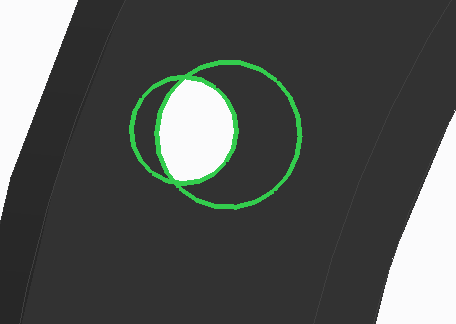
Right-click and select DELETE to remove these surfaces. You'll be left with open edges where the hole used to be. Next, you need to delete the profile/edges of the hole to complete the removal process. Note below, I've selected the open edges of the hole profile.
Finally, right-click and select DELETE again to remove these open edges. The hole has been successfully removed. You can now select the green check mark to exit out of the IDD mode. Your imported model will now appear without the hole. You can place a new hole wherever you'd like.
Hope that helped! If I've left something out, just ask!
Thanks!
-Brian

