

Question
Did you know how to add a second nut in IFX?
Hi,
from time to time there is the question on how to add a second nut in IFX. Well, by default this is not possible. But you can use the following workaround.
Update 2026 May:
- We have a new enhancement for Intelligent Fastener.
- A third washers and a second nut is now available
- Follow the links for more detail:
- Availability
- Creo Parametric 13.0 – IFX 13.4.0.0
- Creo Parametric 12.4 – IFX 12.4.4.0
- Creo Parametric 11.0 – IFX 11.0.9.0
- Creo Parametric 10.0 – IFX 10.0.11.0
Workaround
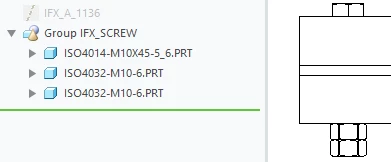
I will explain it by using the IFX nut ISO4032-6.
- Copy the file ISO4032-6.dat and rename it to ISO4032-6_as_washer.dat.
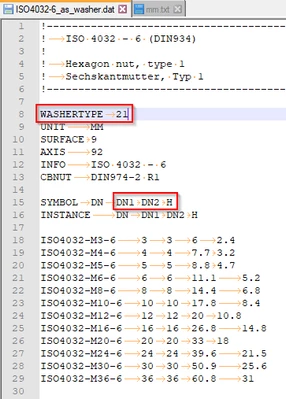
- Open the file and change NUTTYPE 1 to WASHERTYPE 21
- Change the columns in the file like shown in the image
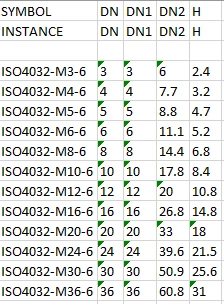
- Finally the file should look like this
-
Add a new icon for you new nut. Size should be 32x16 pixel.

-
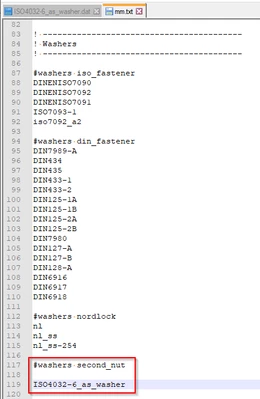
Now add this new nut to your catalog. I have added it to the mm catalog to a new group 'second_nut'. If you want you can add a icon for this new group. Simply copy the attached 'second_nut_icon.png' to the 'ifx_catalog' folder in your IFX installation.
-
If you now start Creo, you can use the second nut in the 'Side 2 Washers' area.
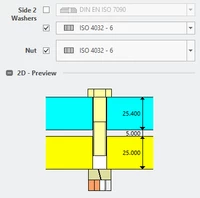
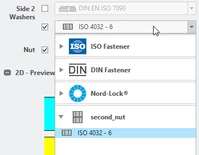
- Note: The preview show a lock washer. But if you assemble the fastener, your nut will be created.
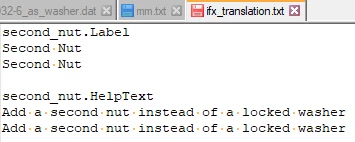
- If you want to translate the 'second_nut' entry, simply add it to the 'ifx_translation.txt' file. See also IFX Library Translation Files.
I hope this post will help you adding your second nuts. Find attached all necessary files.