

Question
How to make a drive belt
Hello, so I want to make a drivebelt from these two parts:
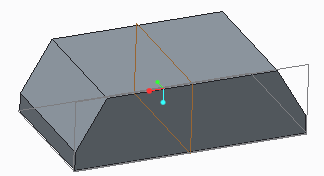
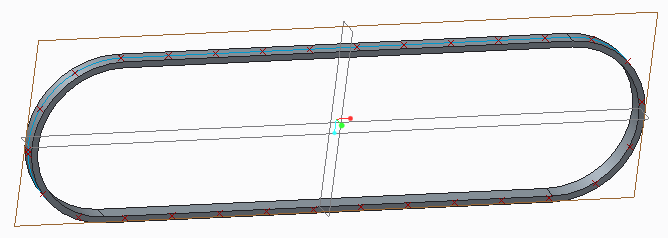
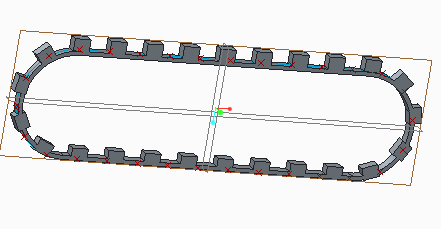
I have tried making an assembly of the parts and then making a pattern and also doin this all in one part. I have tried (pattern function) both with points, but then the block wont follow the bend, and i have also tried with Curve pattern, But then it wont follow the bend good either, lower pic
I have done this with Flatten Quilt and flatten quilt deformation like this video:
Design belt with tool Flatten Quilt and Flatten Quilt Deformation in Creo 1.0 to Creo 3.0 - YouTube
But then it becomes a gap in the belt..
So how to do it good?
This thread is inactive and closed by the PTC Community Management Team. If you would like to provide a reply and re-open this thread, please notify the moderator and reference the thread. You may also use "Start a topic" button to ask a new question. Please be sure to include what version of the PTC product you are using so another community member knowledgeable about your version may be able to assist.